Pumpkin carving faces
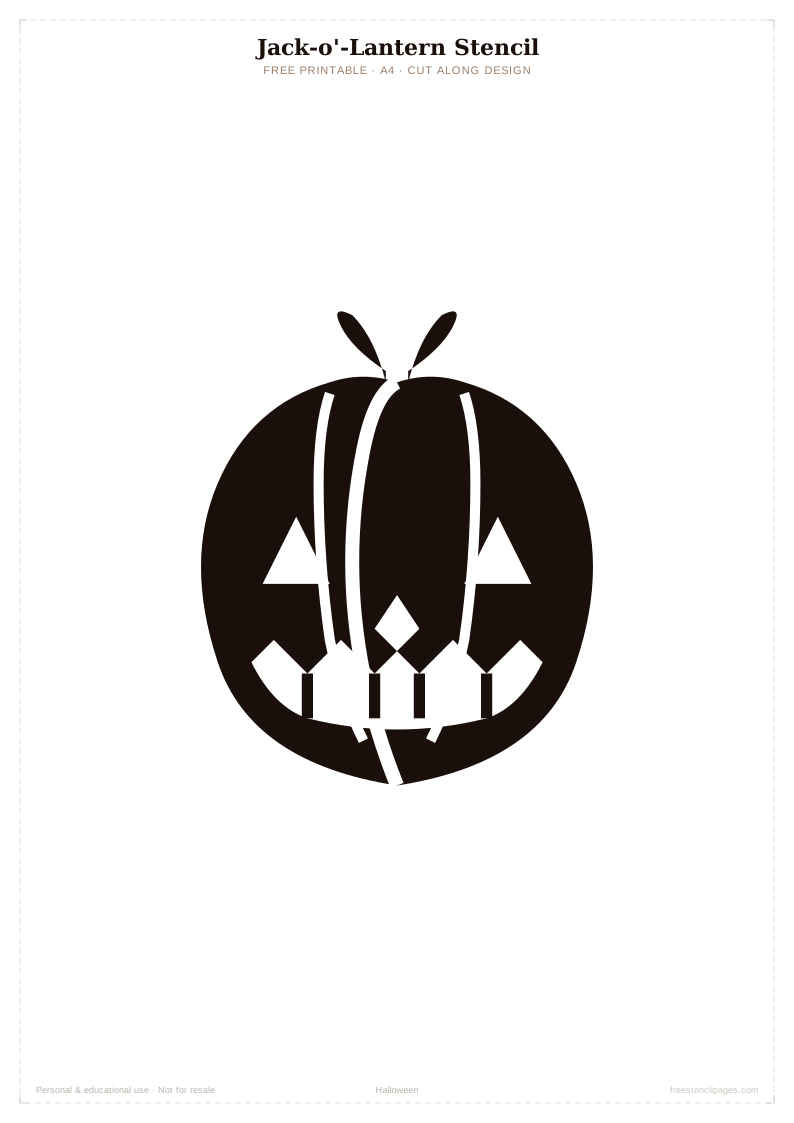
The five faces below are drawn specifically for carving: bold shapes, no fiddly slivers, and every cut-out big enough to actually saw around. They also paint beautifully if you'd rather not carve at all. Start with the happy pumpkin if children are involved and the scary one if they're not.
How to carve a pumpkin with a printable stencil
Getting a flat paper design onto a round pumpkin is the part nobody explains properly. Here's the method that actually works, and it takes about forty-five minutes start to finish.
- Print at 100% and check it fits. Hold the sheet against the pumpkin before you do anything else. Every pumpkin has one flattest face — use it. If the design wraps around the curve, scale down and reprint; a design that bends will carve distorted.
- Cut the lid at an angle. Slope the cut inward so the lid rests on a ledge instead of dropping inside once the flesh shrinks. Cut a small notch at the back so you can always line it up again.
- Scrape the carving wall to about 2cm. This is the step people skip and regret. A thinner wall cuts cleanly, glows properly, and stops the small shapes crumbling.
- Tape the stencil down with snipped edges. Make short snips around the paper's border so it lies flat against the curve, then tape every flap. A stencil that shifts halfway through is a ruined face.
- Prick the outline through the paper. Use a pin, skewer or the poker from a carving kit and dot along every cut line, about 3mm apart. Peel the paper away and you have a dotted map on the skin.
- Carve the smallest shapes first. Same rule as cutting a stencil: while the pumpkin wall is still whole it is strong. Saw gently with a back-and-forth motion — forcing the blade is how eyes crack into each other.
- Push the pieces out from inside. Never pull them out from the front; the edge tears. Push gently with a thumb from within.
- Light it with an LED tea light. Brighter than a candle, no scorching, no fire risk, and it lasts all evening.
Make it last: rub petroleum jelly onto every cut edge to slow drying, and keep the pumpkin somewhere cool overnight. A carved pumpkin lasts three to five days; a painted one lasts weeks, which is worth knowing if you're decorating early.
Carving with children: let them choose the design, hold the stencil and prick the outline — those are the fun parts anyway — and keep the cutting with an adult. Flameless tea lights only, especially near costumes.
Advertisement
Creatures of the night
Cats, bats, spiders and the classic monsters. These are the designs that do the heavy lifting on windows and walls, and most of them shrink well enough for party bags and jar labels too.
Black Cat
Spider
Flying Bats
Raven
Vampire
Mummy
Frankenstein
Skeleton
Spooky scene setters
Tombstones, coffins, bare trees and potion bottles — the props rather than the characters. Group three or four together on a window or door panel and you have a scene instead of a sticker.
Tombstone
Coffin
Creepy Tree
Potion Bottle
Broomstick
Candy Corn
Trick-or-Treat Bucket
The rest of the Halloween collection
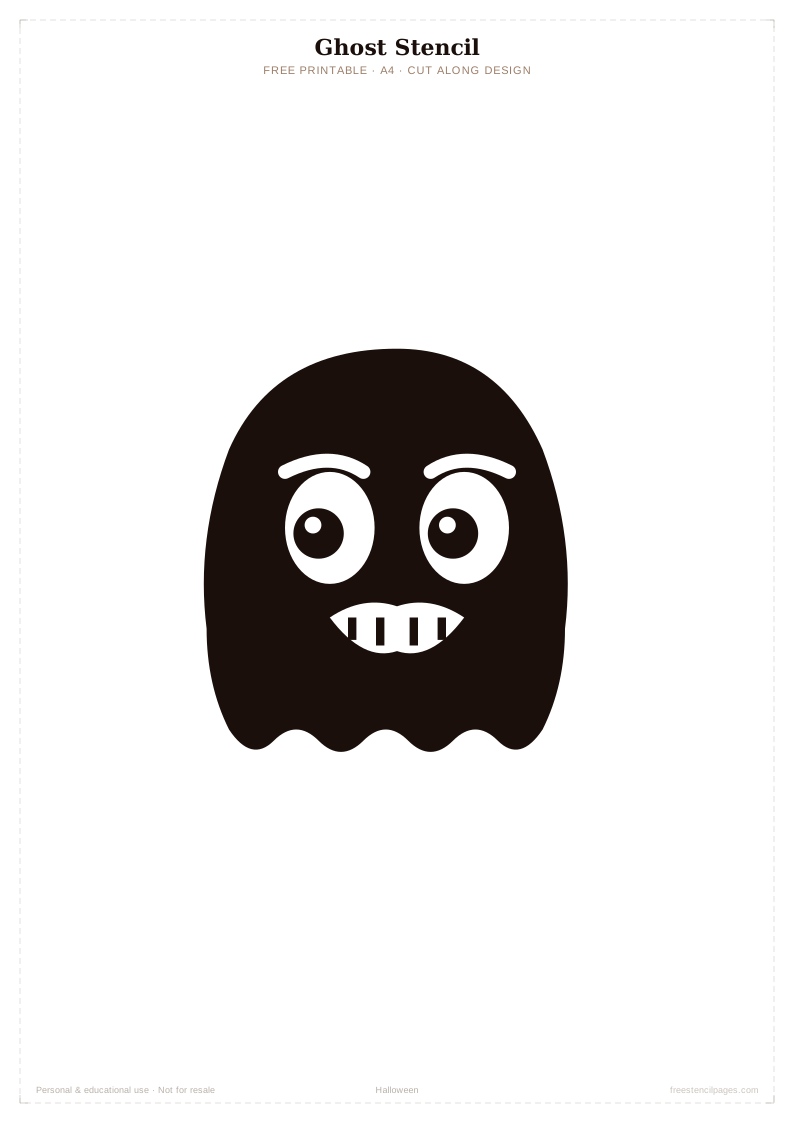
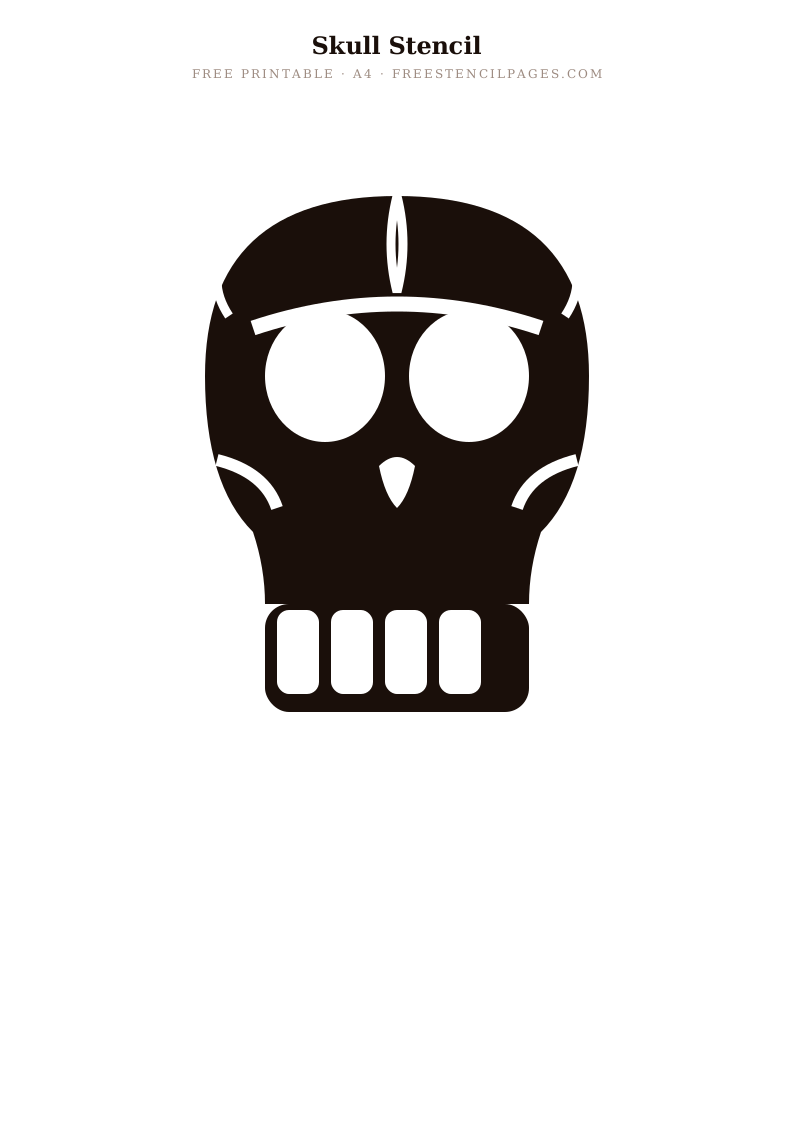
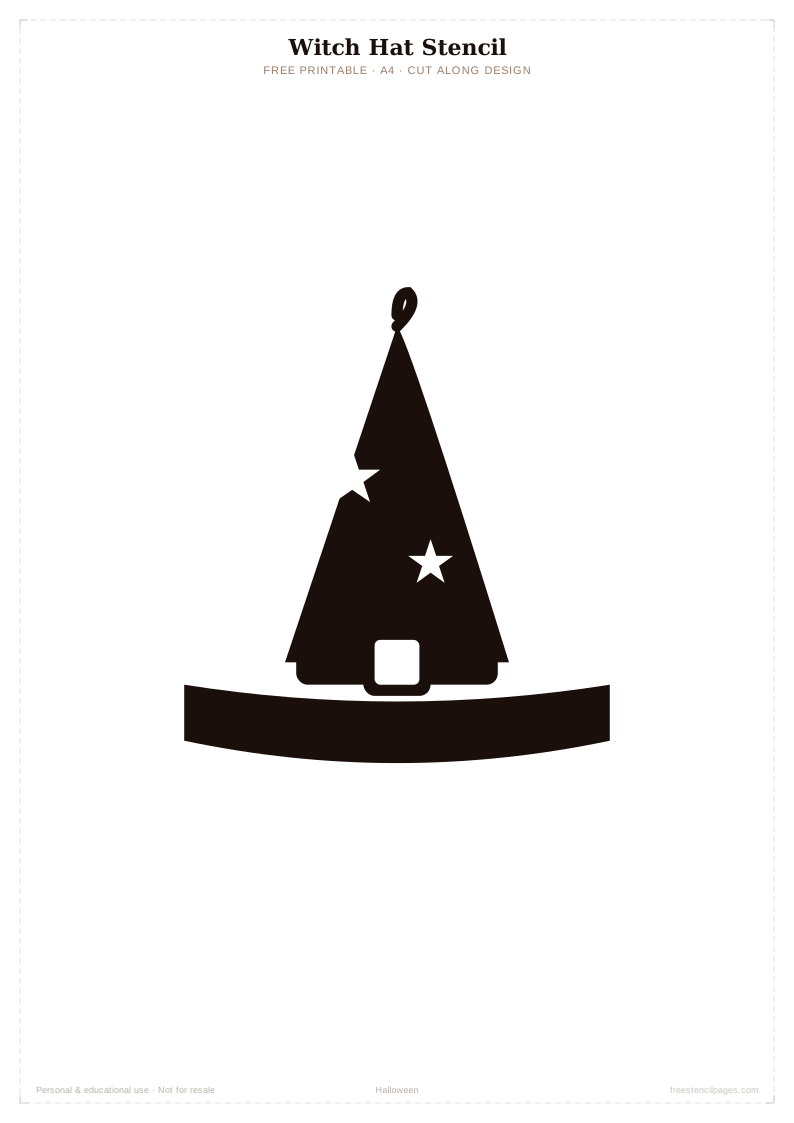
Already in the library, and still free: the plain pumpkin for painting, ghosts, witches, skulls and the haunted house.
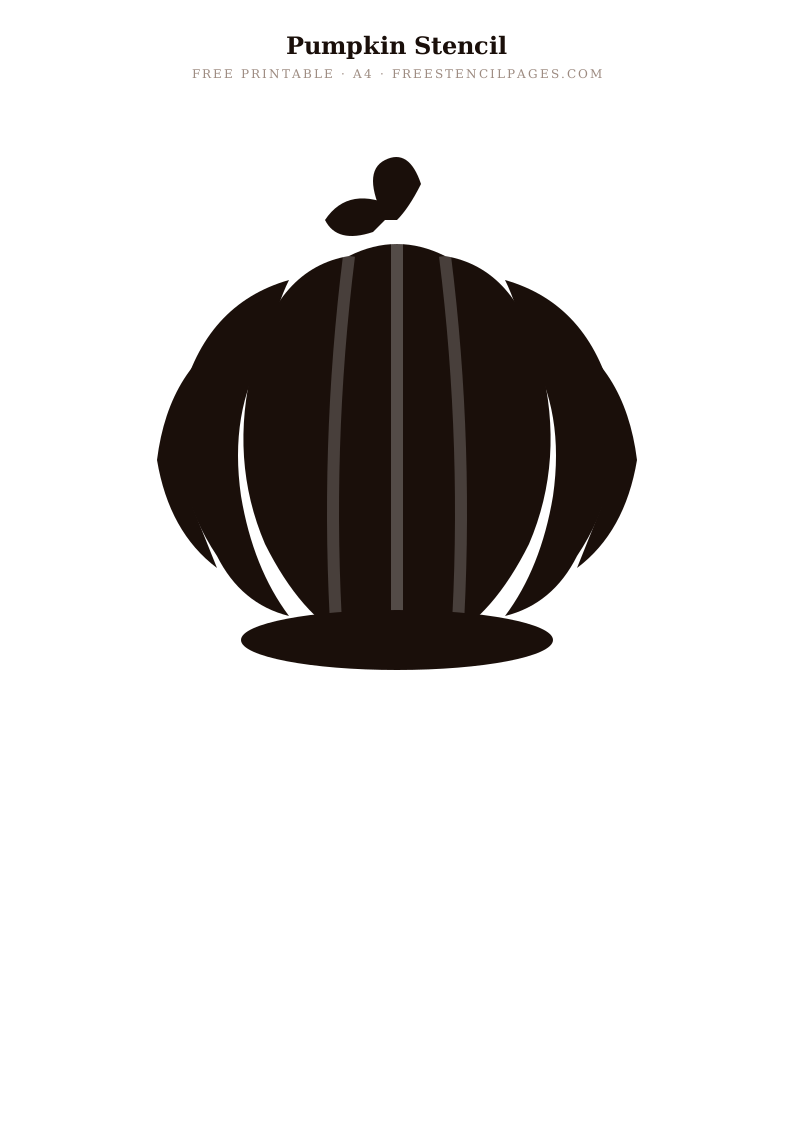
Pumpkin
Ghost
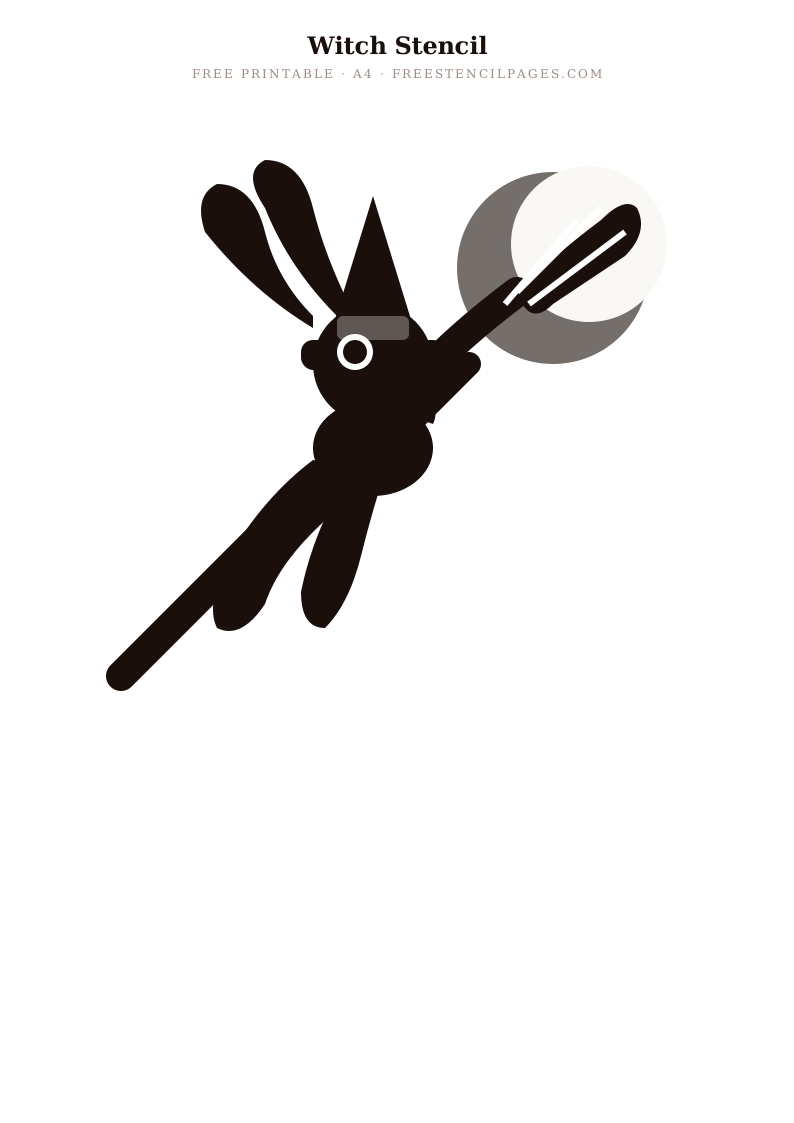
Witch
Witch Hat
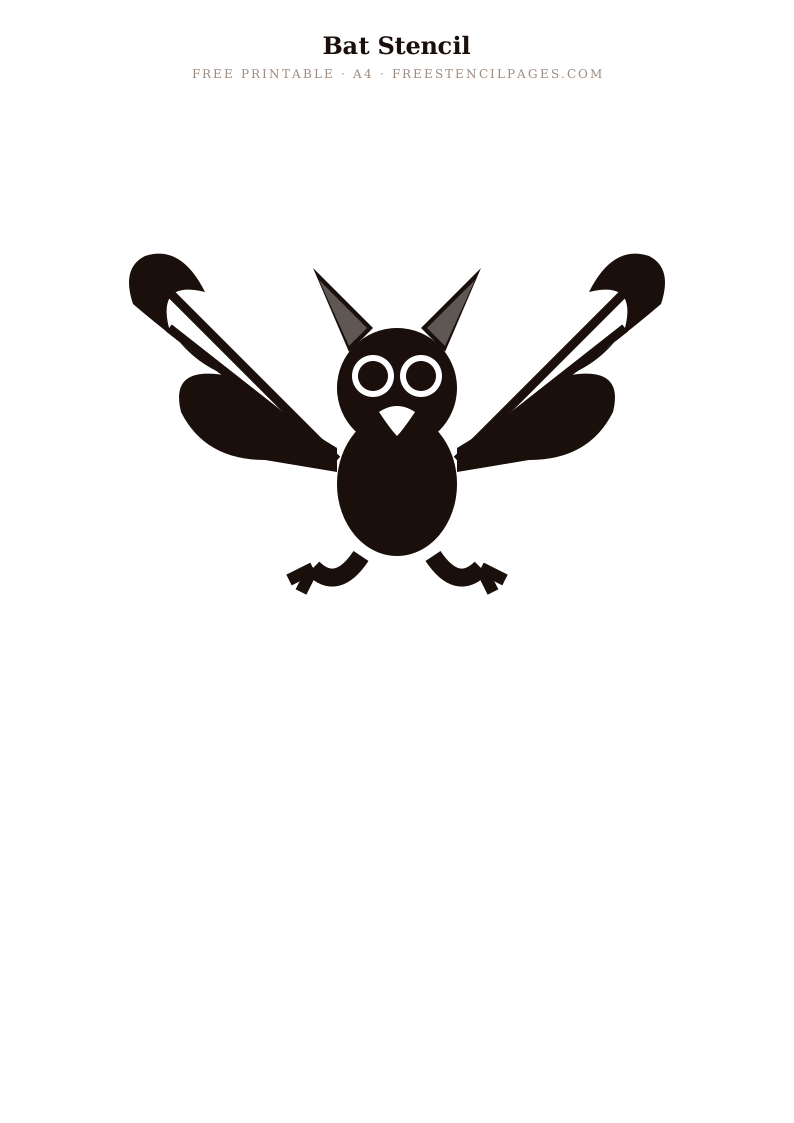
Bat
Skull
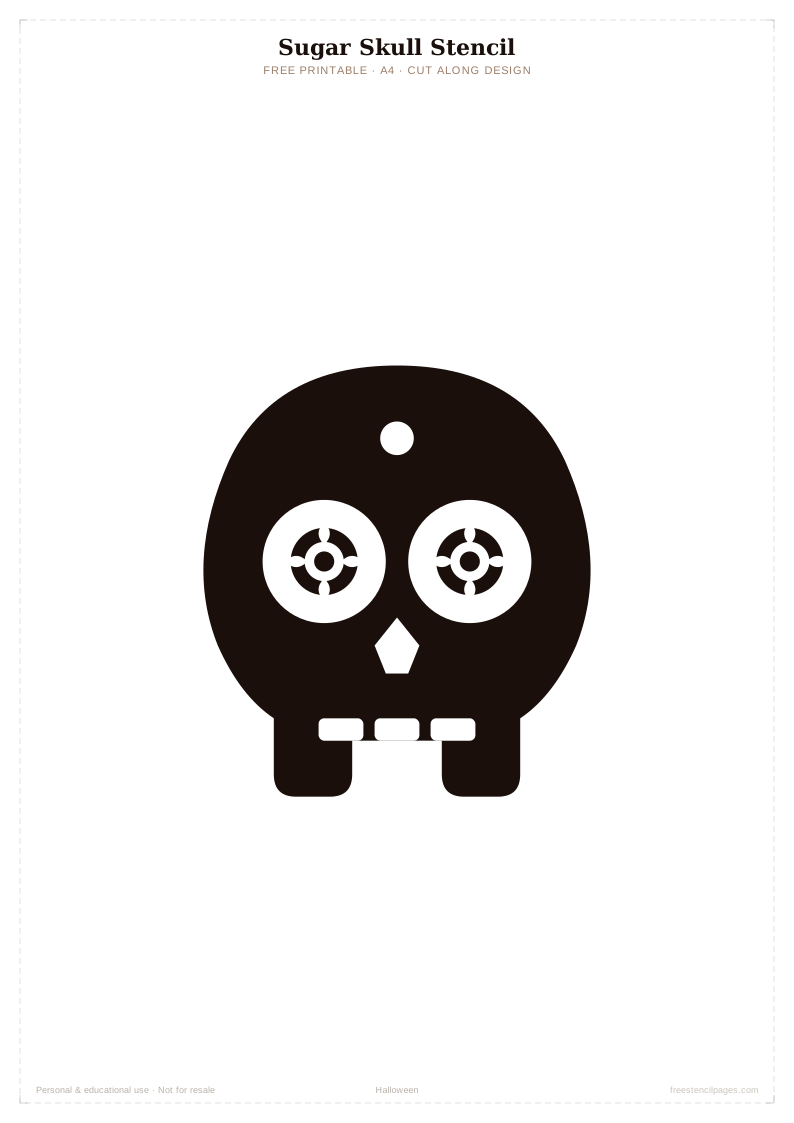
Sugar Skull
Skull Rose
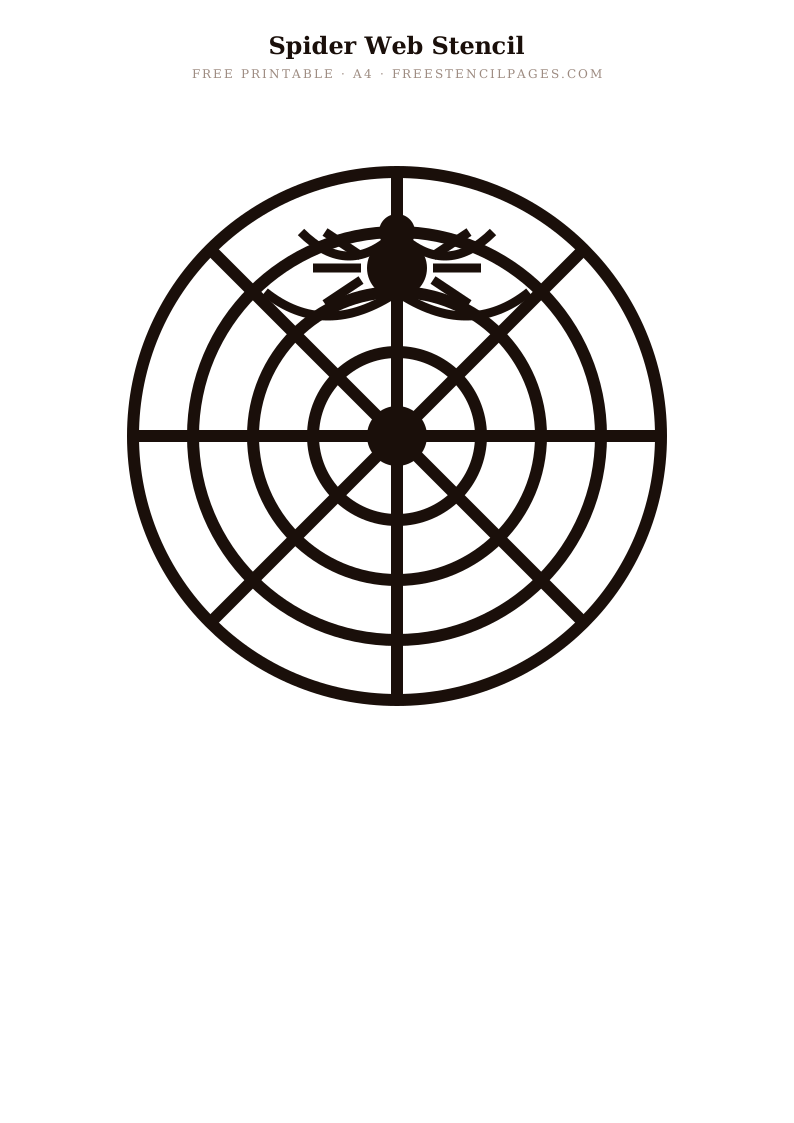
Spider Web
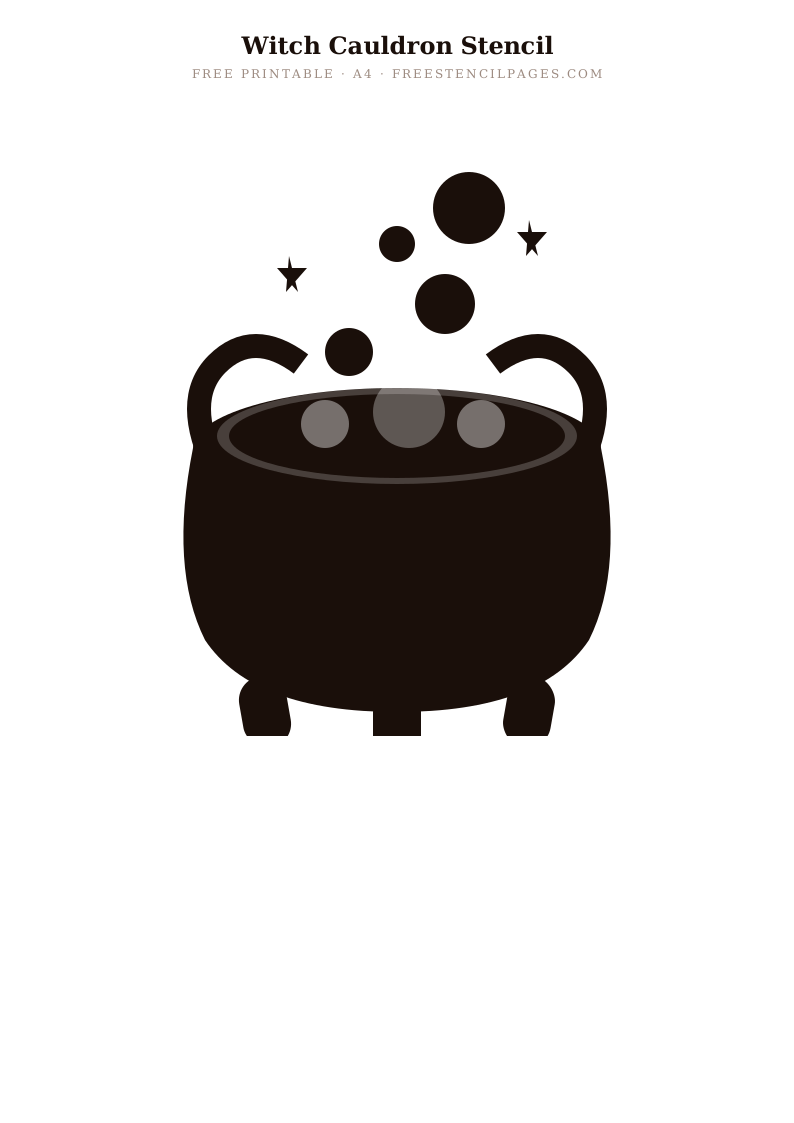
Cauldron
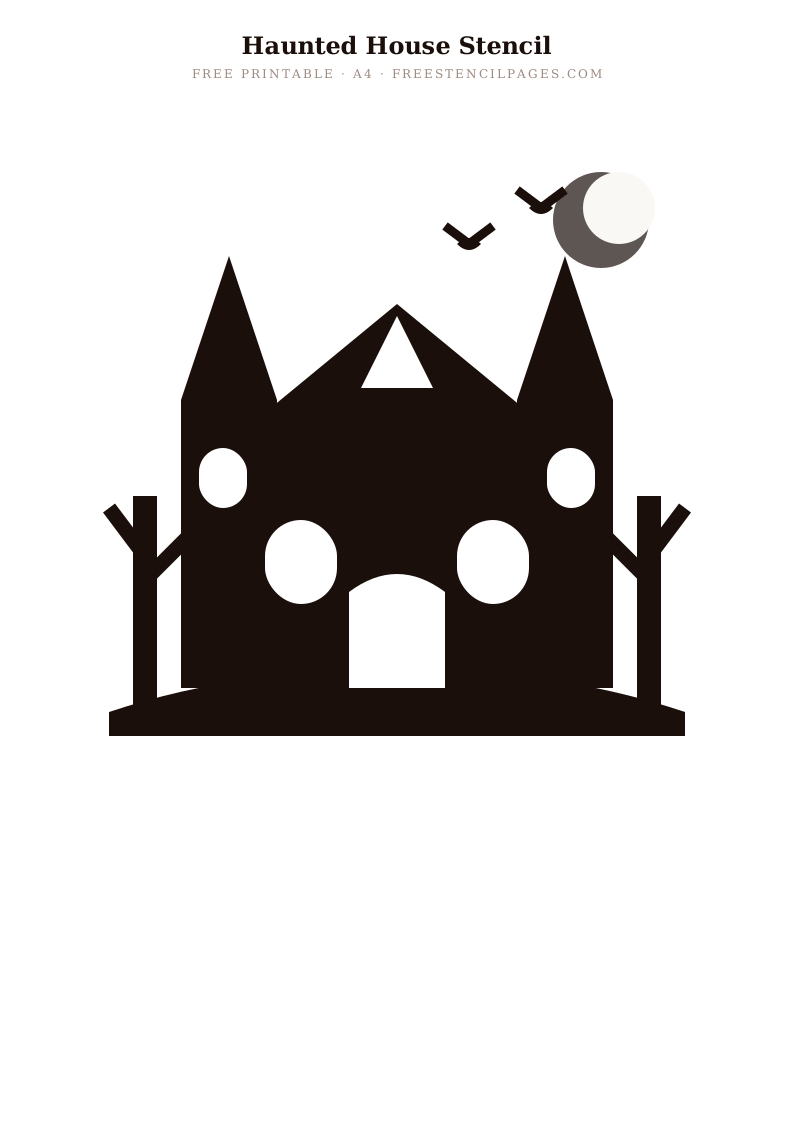
Haunted House
Beyond the pumpkin: nine other things to do with these
Window silhouettes
The single highest-impact Halloween decoration, and the cheapest. Stencil the bat trio, the black cat and a witch onto black card, cut them out, and tape them inside the glass. Backlit by a lamp after dark they read from the street. Our printing guide covers card weights.
Painted pumpkins
No knife, no mess, no rotting. Chalk or acrylic paint grips the waxy skin if you wipe it first; hold the stencil against the curve and dab in sections rather than trying to fix the whole sheet flat. White pumpkins with a single black design look genuinely stylish.
Trick-or-treat bags and party kit
Plain calico bags plus fabric paint, and every child gets a personalised bag. The treat bucket, candy corn and bat designs suit small scales. Add initials from our letter stencils and see the lettering guide for keeping names straight.
Face paint stencils
Cut a small spider or bat from acetate and use it as a face-paint template — far easier than freehand on a wriggling child, and it looks sharper. Keep the design under about 4cm and use skin-safe paint only.
🎃 Want all 31 in one download?
Every design here as both an SVG and a print-ready A4 PDF — 62 files, organised into folders, with a commercial licence so you can sell what you make. Everything on this page stays free to download individually; the bundle is for convenience and for selling.
Get the bundle — £9 →Sizing guide
Rough guidance that saves reprinting: full A4 for pumpkins, doors and window panels; 50% for cards, jars and small windows; 25–30% for gift tags, party bags and face paint. Bold designs — the bats, black cat, candy corn — stay readable when small. Detailed ones like the skeleton and creepy tree want size to breathe. The resizing guide covers scaling beyond A4 for door-sized work.
What you'll need
For painting rather than carving, the kit is the same as any stencil project — a stiff brush, paint suited to your surface, card, and low-tack tape to hold everything flat. Our full supplies guide goes through the choices properly.
Common questions
Are these Halloween stencils free?
Yes — all 31, free for personal and educational use, no account or email. Each comes as an A4 PDF for printing and an SVG for cutting machines.
How do I transfer a stencil onto a real pumpkin?
Print at 100%, snip the paper edges so it lies flat against the curve, tape it down, then prick along every cut line with a pin. Peel the paper off and join the dots as you carve.
Which pumpkin face is easiest for children?
The happy pumpkin — large rounded shapes, no fine points, forgiving of wobbly cutting. Let children design and prick; adults do the cutting.
Can I use these without carving?
Yes, and often better. Painted pumpkins last weeks rather than days, and the same designs work on windows, doors, bags and card.
What size should a Halloween stencil be?
A4 for pumpkins and doors, 50% for windows and cards, 25–30% for tags and party bags. Bold designs shrink better than detailed ones.