Popular
freestencilpages.com
Butterfly
⬇ Download Free
18 free printable animal stencil templates — butterflies, cats, foxes, lions and more. A4 PDF & SVG. Instant download.
Advertisement
Advertisement
All our animal stencils are hand-drawn by our design team and formatted to A4 at 300dpi for crisp printing at home. Each download includes both PDF (for standard printing) and SVG (compatible with Cricut, Silhouette and other cutting machines).
Animal designs are probably the most versatile category on the site — they work in children's nurseries, contemporary kitchens, Scandi-style living rooms, coastal bathrooms, and everything in between. The key is matching the design to the context: a wolf or eagle as a large wall centrepiece; a butterfly or rabbit scattered at smaller scales for a nursery; an owl or fox for a woodland kitchen.
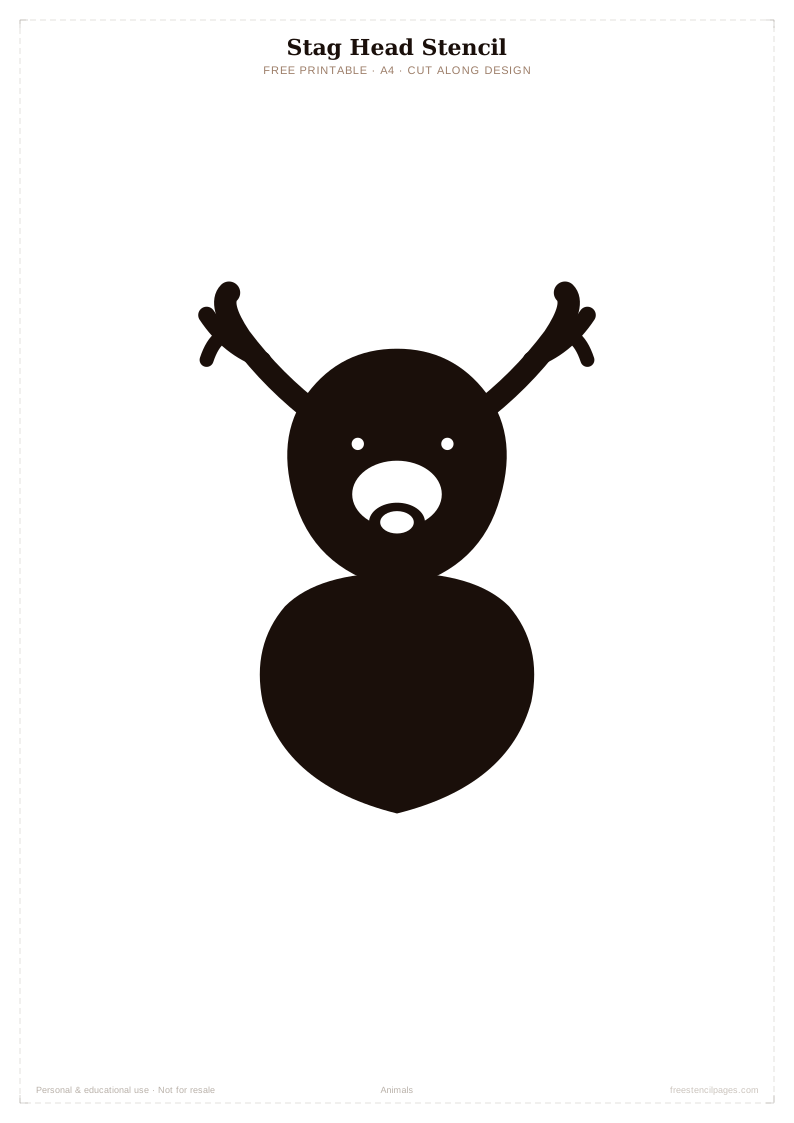
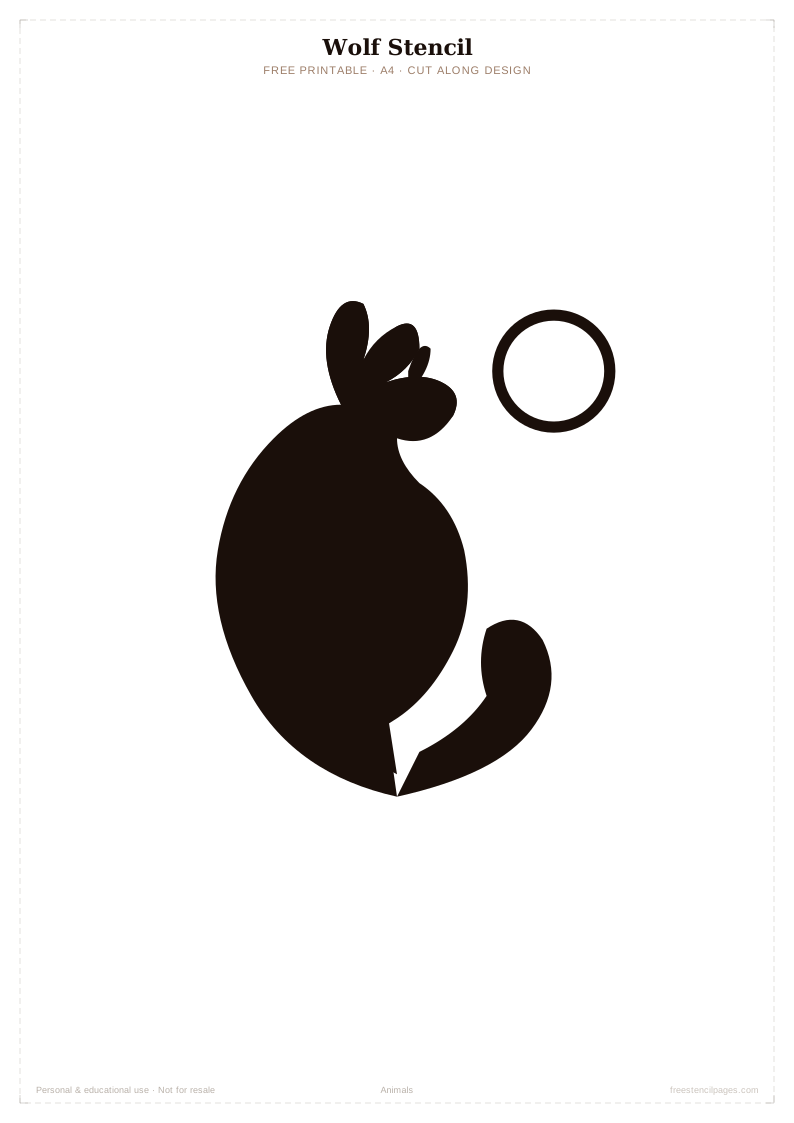
Wolf, lion, eagle and stag head all work as bold statement centrepieces. Scale to 50–80cm using a projector or print shop.
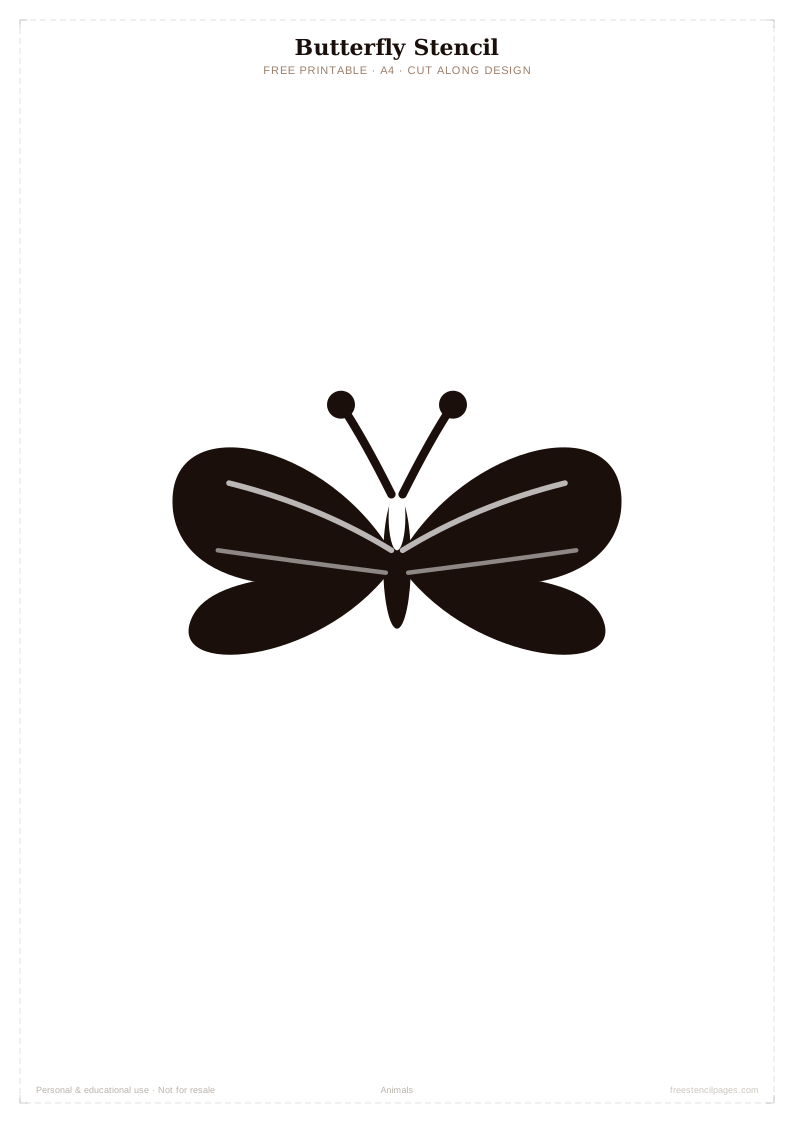
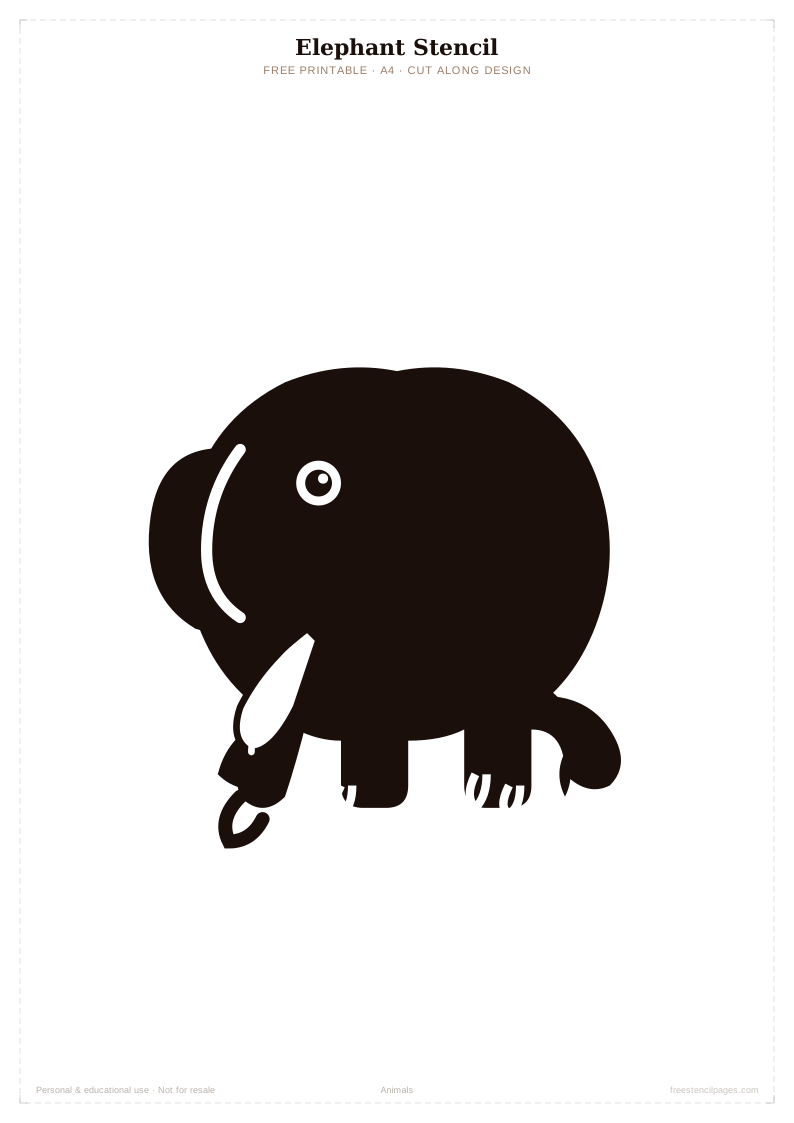
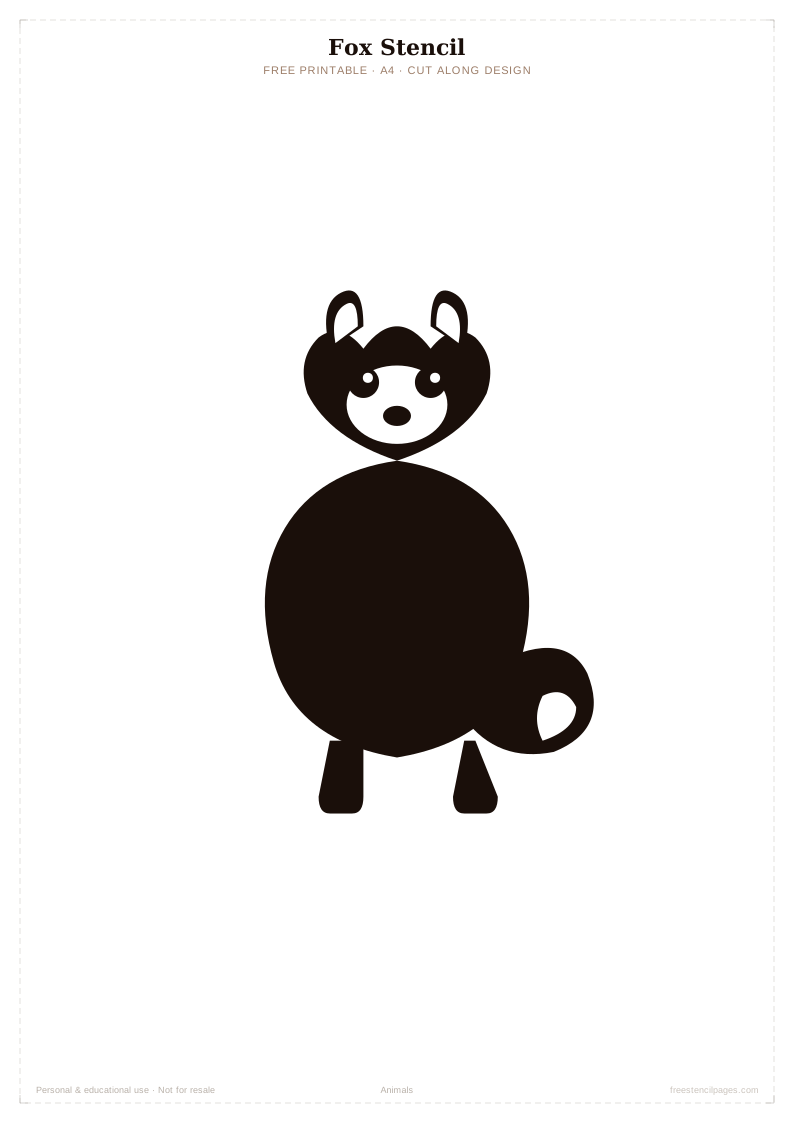
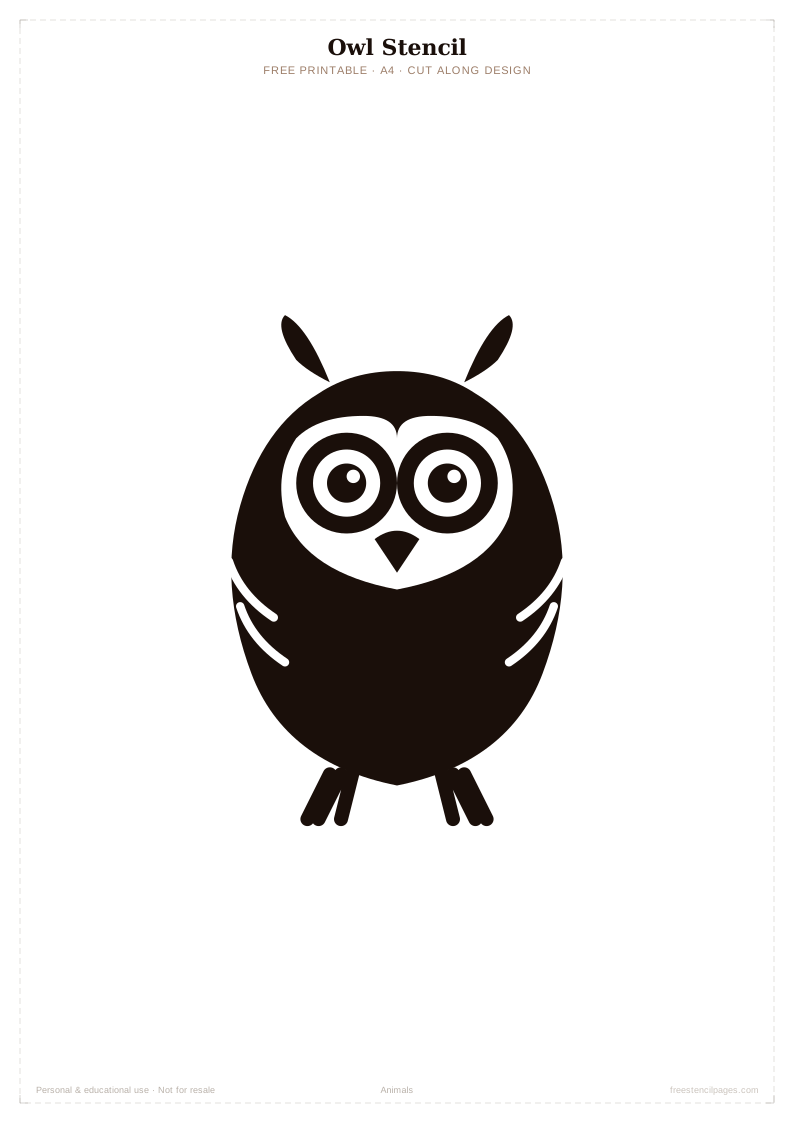
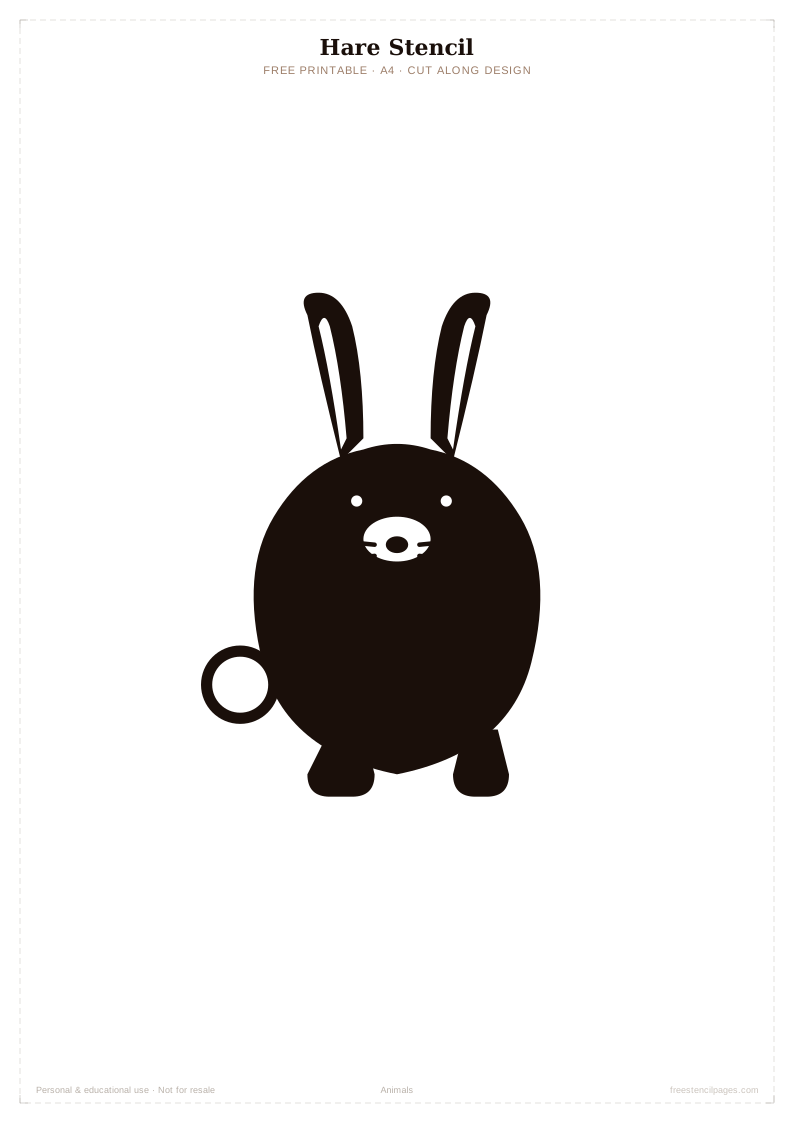
Owl, fox, elephant, rabbit and butterfly are the most popular nursery choices. Use soft chalk paint in muted tones.
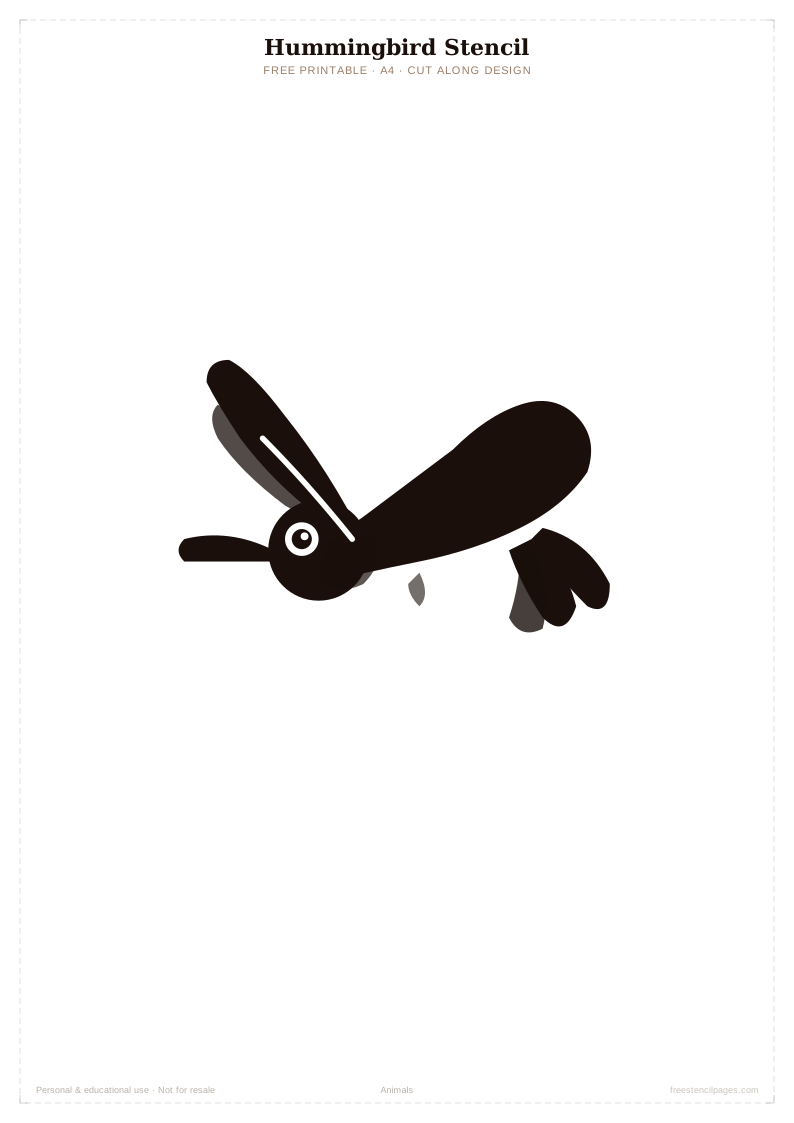
Butterfly, elephant, hummingbird and fox all work beautifully on natural linen cushion covers with fabric paint.
Wolf, eagle, stag head and koi fish are the most popular pyrography designs. Transfer with graphite paper.
Fox, rabbit and butterfly scattered on kraft paper make beautiful handmade wrapping that people keep rather than bin.
All animal designs are free for classroom and school use. Print on laminated card for a reusable class stencil.
If you're new to stencilling, the butterfly, elephant and owl are the best starting points — large forgiving shapes that give satisfying results from the very first attempt. The wolf, eagle and mandala reward a bit more experience. The general principle applies to all of them: use less paint than you think you need, secure the stencil with spray adhesive, and peel while the paint is still slightly damp.
For a more detailed walkthrough, the beginner's stencilling guide covers technique from scratch — what brush to use, how to handle bridges, and how to avoid the most common mistakes.
The technique varies significantly by surface. For walls, chalk paint and a nearly-dry stencil brush is the standard approach. For wood burning, you need to transfer the design using graphite paper first. For fabric, use dedicated fabric paint and heat-set with an iron — standard acrylic cracks when washed. Each surface has its own guide in the tutorials section.
Size is the decision that makes or breaks an animal project, and it is worth getting right before you print. An animal that fills a cushion looks lost on a wall, and a wall sized elephant overwhelms a toy box. The table below reflects what actually works, learned the slow way.
| Project | Animal size | Why |
|---|---|---|
| Nursery or bedroom wall, single feature animal | Full A4, or tiled to A3 | A feature animal needs presence. Smaller than A4 on a wall reads as a smudge from the doorway. |
| Woodland or safari scene on a wall | Mixed: A4 for the largest, 60 to 70% for the rest | Scenes need a size hierarchy or every animal fights for attention. |
| Cushions and tote bags | 50 to 60% of A4 | Fills the panel without wrapping over seams, which distorts the shape. |
| Toy boxes and drawer fronts | 40 to 60%, sized to the panel | Measure the flat area first and leave a visible border around the design. |
| Cards, tags and jars | 25 to 40% | Detailed designs lose their fine features below about 25%. Simple silhouettes shrink further. |
A habit worth forming: print a rough copy on cheap paper first and hold it against the actual wall, cushion or box. Thirty seconds of holding paper up saves repainting, and our resizing guide covers scaling past A4.
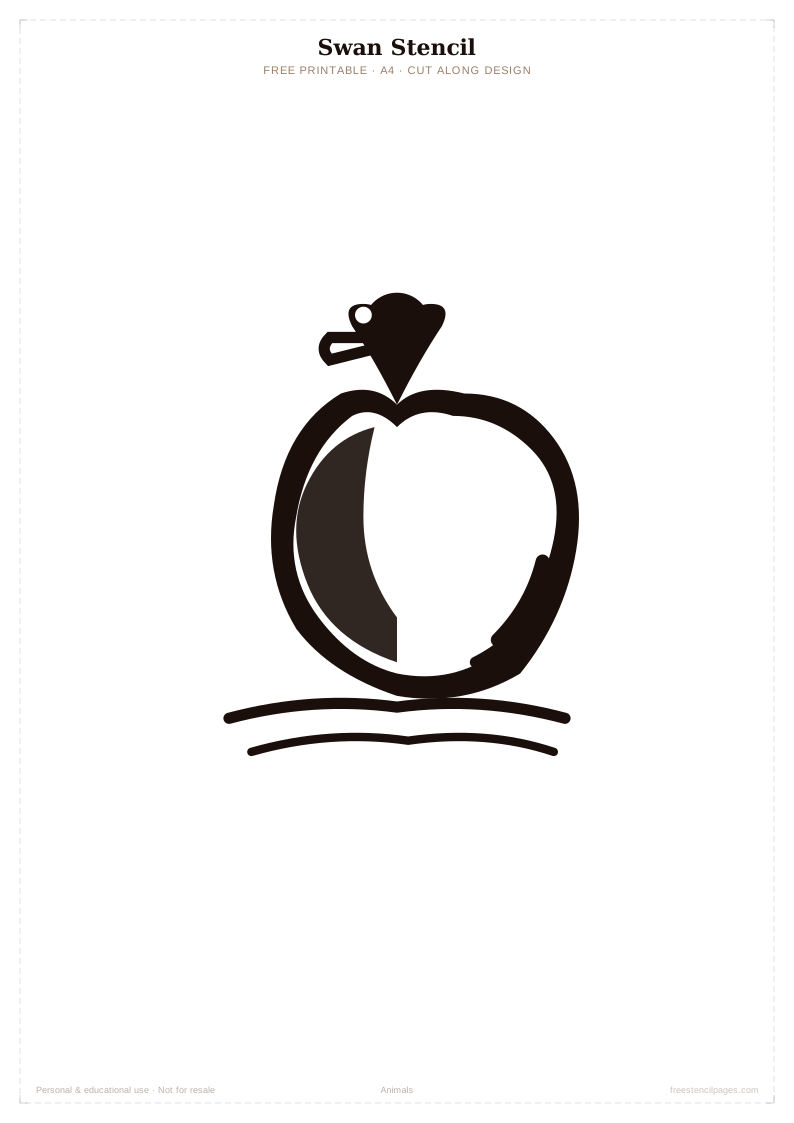
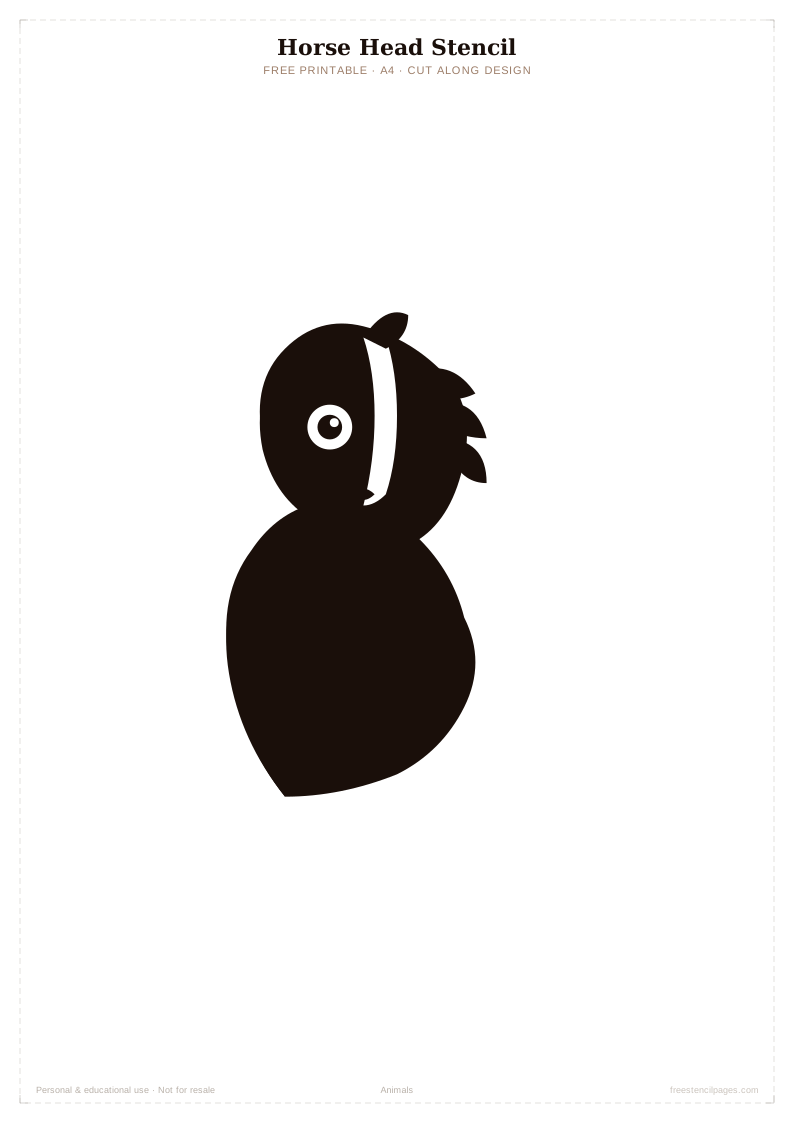
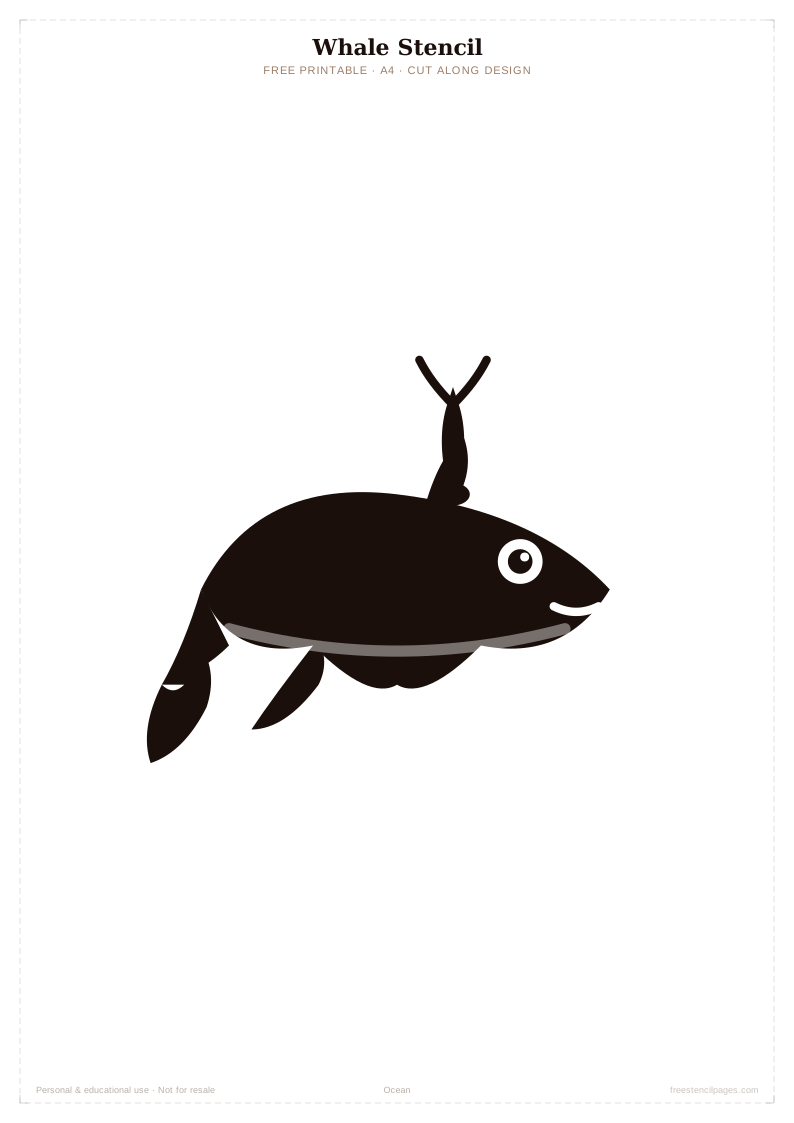
Some pairings simply work better, and it is mostly about the silhouette. Long, flowing animals such as the whale, swan and horse suit wide spaces: above a headboard, along a hallway, across a wide canvas. Tall, upright designs such as the stag head, owl and bear hold their own in portrait spaces like chimney breasts and door panels.
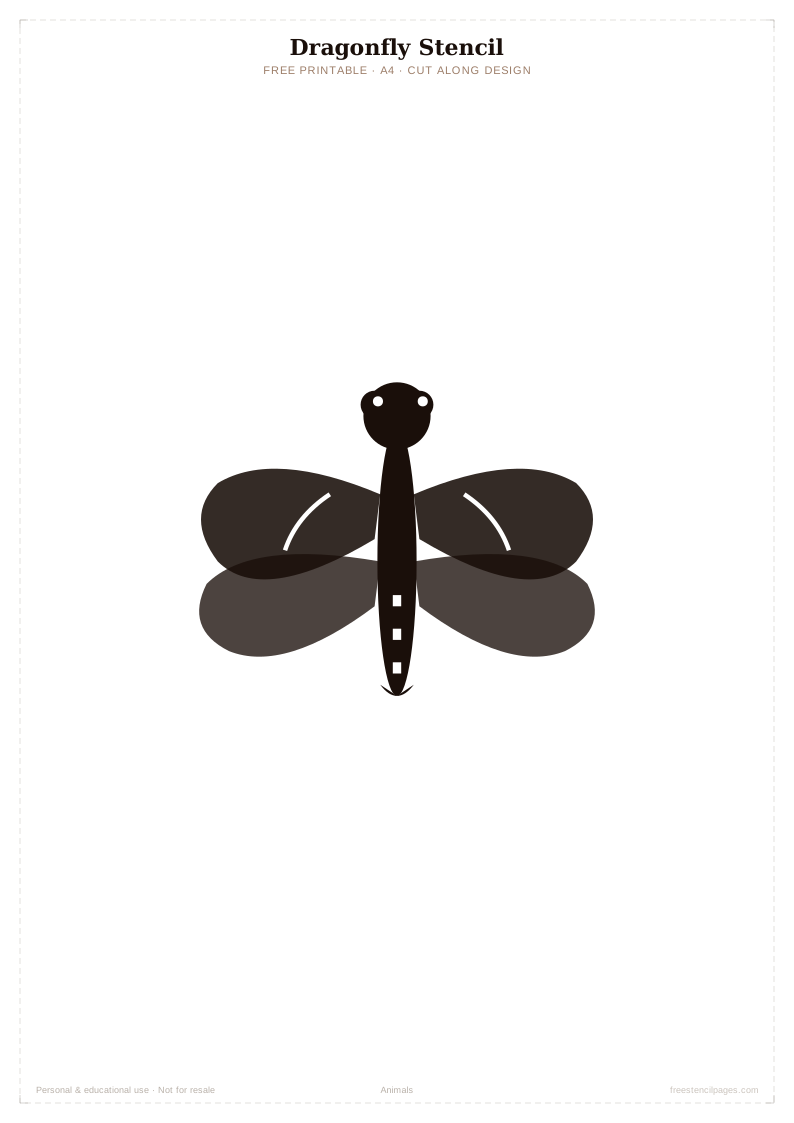
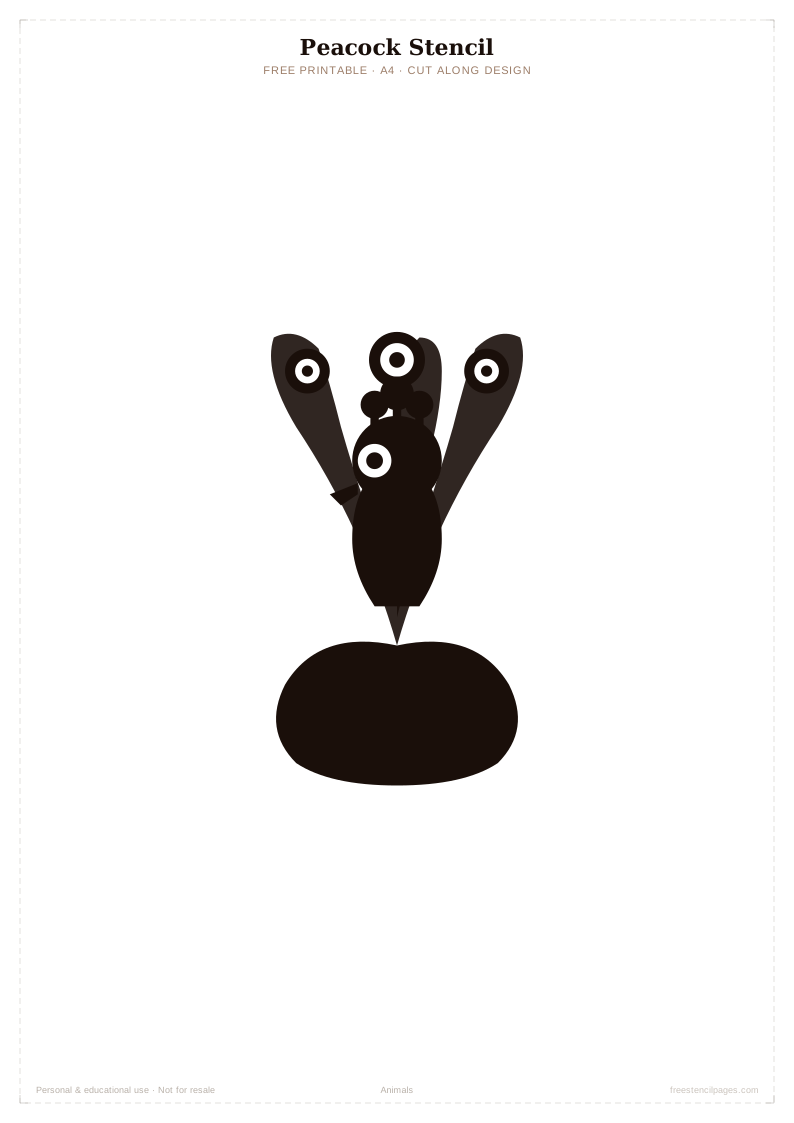
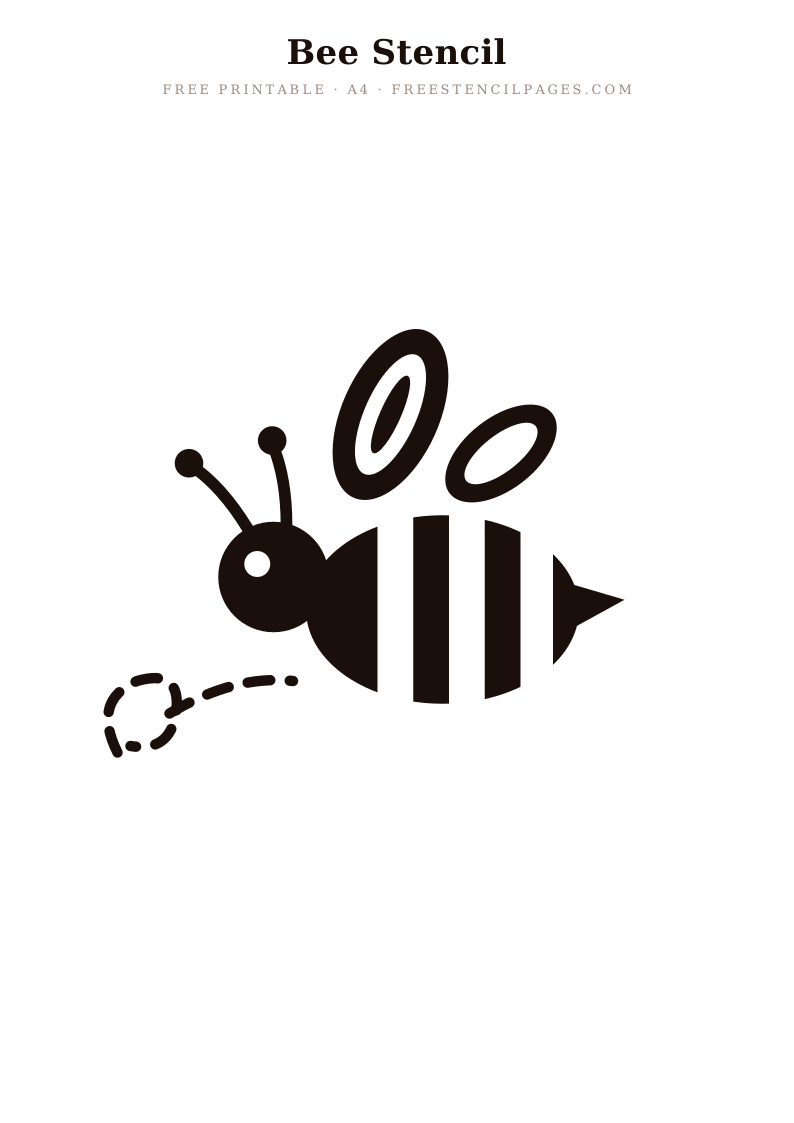
For nurseries, the gentler rounded shapes earn their popularity: elephant, rabbit, panda and our new labrador. Detailed and dramatic silhouettes, the howling wolf, peacock and phoenix, reward larger sizes and a single colour on a calm background, where the outline can do its work. And for garden and outdoor pieces, the bee, hummingbird and butterfly sit naturally on planters, sheds and gate signs.
Animal designs live or die on their features. A fox without sharp ears is just an orange blob, and a stag without clean antler tips loses the whole point of being a stag. Three habits protect the detail.
First, cut the small interior features before the outline when hand cutting. The sheet is rigid while it is still whole, and eyes, whisker lines and ear inner edges come out far cleaner. Second, fix the stencil best where the fine parts are. Tails, antlers and beaks are long thin flaps that lift first; a strip of low tack tape directly over each one, or a light mist of repositionable adhesive, keeps them flat. Third, dab those areas nearly dry. Fine features flood first when the brush is loaded, so do them with what is left on the brush after the body, not with a fresh dip.
The blade rule: change to a fresh blade for every detailed animal. A blade that cut three stencils yesterday will drag and tear today, and it always tears at the whiskers, never in the middle of the back.
One animal is a motif; three make a scene, and scenes are where animal stencils get genuinely fun. Two things separate a scene that hangs together from a wall of random stickers.
The first is deliberate scale. Real relationships matter even in silhouette: if the fox is bigger than the deer, everyone who looks at the wall will feel it without knowing why. Print your candidates small, cut them out roughly, and arrange the paper animals on the wall with tack before committing to paint. The second is a common ground line. Animals floating at random heights read as chaos; animals standing on an invisible shared line, even a gently sloping one, read as a landscape. Woodland walls work beautifully with fox, deer, hare, owl and a couple of tree silhouettes; parades of a single repeated animal, alternating direction, suit borders and stair walls.
Every animal on this page is drawn with stencil safe bridges and downloads as a free A4 SVG, ready to print, cut and paint. If you are new to this, start with a bold single silhouette on a flat surface, and it will go well.