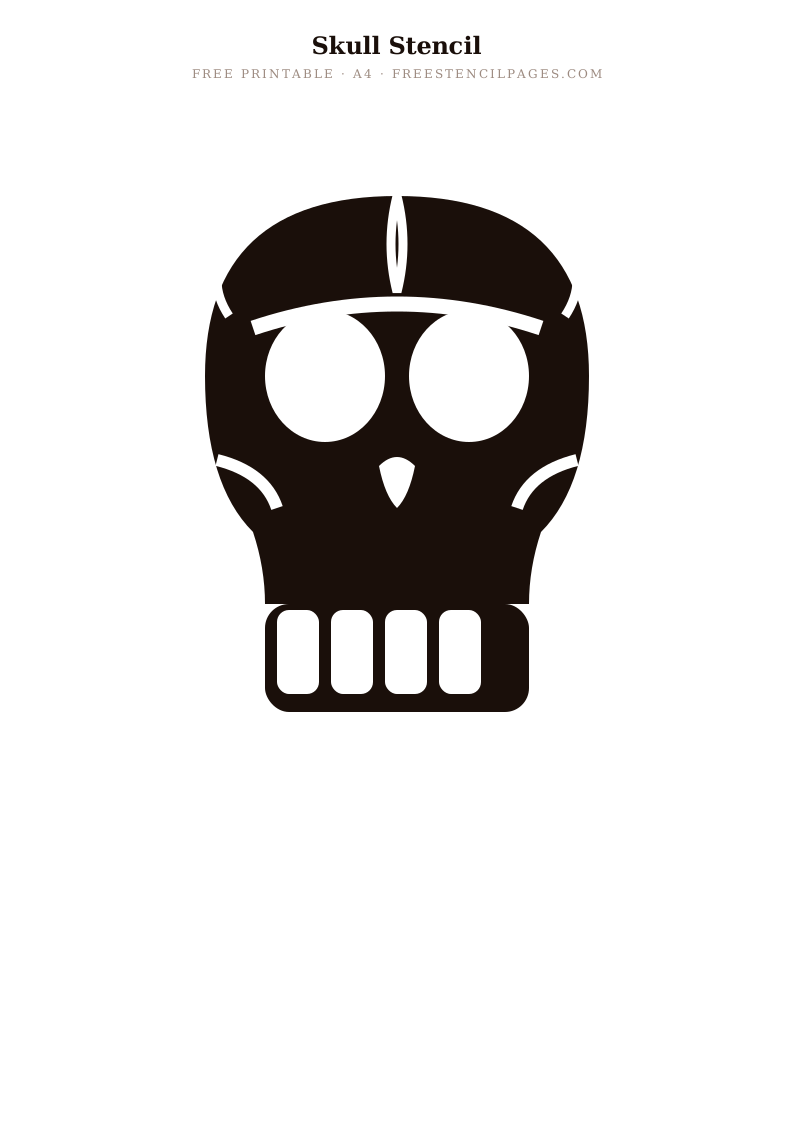
About this stencil
The skull stencil sits in interesting territory — it's associated primarily with Halloween, but the design has a graphic boldness that works in dark-aesthetic interiors, gothic home decoration, and Day of the Dead inspired crafts throughout the year. The key to whether it reads as seasonal decoration or permanent statement décor is almost entirely in the colour palette and surface choice.
Technically, the main challenge with the skull is the eye sockets and nasal cavity — these are large open areas within a solid shape, which means the interior sections need to be cut away and managed carefully. The eye circles in particular need clean cutting, as any jagged edge is very visible in such geometrically regular shapes. That's what makes this a medium difficulty rather than an easy design.
Best surfaces & materials
This design works across a wide range of surfaces. Here's what tends to give the best results on each one.
| Surface | Recommended paint | Notes |
|---|---|---|
| Halloween pumpkin | No paint needed — carve or perforate | Print, tape to pumpkin, perforate with skewer along lines, then carve |
| Window display | Black glass paint or spray | Silhouettes against light; highly effective, removes cleanly after Halloween |
| Gothic wall feature | Black chalk paint on pale wall | Or white on dark wall; depends entirely on existing room palette |
| Fabric T-shirt | Black fabric paint | Use Cricut for cleanest cut; heat-set for washability |
| Halloween bags and fabric | Any fabric paint | Orange, black, or white depending on bag colour; heat-set |
How to use this stencil — step by step
Whether you're printing and cutting this yourself or uploading to a Cricut, these steps apply to most surfaces and paint types.
- For pumpkin carving: print at 80–90% of A4, tape firmly to a dry clean pumpkin, perforate along every line with a skewer at 3–4mm intervals, remove paper, and carve or paint following the perforations.
- For wall or glass application: cut carefully — the eye sockets are the most important elements. Use a craft knife for the circles.
- Apply repositionable spray adhesive to the back. Press firmly, especially around the eye socket edges.
- Apply black paint in firm, controlled dabs. The skull benefits from a slightly heavier paint application than more delicate designs.
- Peel while paint is still slightly damp for cleanest edges.
- For a window display, use temporary glass paint which removes easily in November.
The moonlit skull window trick: apply a large circle of yellow or orange paint to a window first (a dinner plate works as a template), allow to dry, then stencil the skull in black over it. The effect is a skull silhouetted against a full moon — far more dramatic than either element alone.
Project ideas for this design
Not sure where to start? These are some of the most popular ways people have used this particular stencil.
Carved pumpkin template
The most popular use. Print, perforate, carve. Backlit by a tea light, a clean skull carving looks genuinely impressive.
Halloween window display
Black glass paint on clean windows. Combine with bat stencils at different scales for a full Halloween window display.
Gothic feature wall
Single large skull in white on a dark wall, or black on pale. Not seasonal — a permanent statement for the right kind of interior.
Halloween fabric banners
Black fabric paint on orange or white cotton. Hang as bunting or use as table runners for Halloween parties.
Day of the Dead inspired canvas
Skull in black on white canvas; add floral elements freehand around it in bright colours. Pairs with the sugar skull design.
Related stencils you might like
Frequently asked questions
Can I use the skull stencil for pumpkin carving?
Yes — print the stencil, tape it to a clean dry pumpkin, perforate along every line with a skewer at 3–4mm intervals, then remove the paper and carve or paint following the perforated outline. This is much easier than freehand carving and gives more consistent results.
What's the best way to apply the skull stencil to a window?
Use temporary frosted glass spray paint or black glass paint. Clean and dry the window first, secure the stencil with tape (not adhesive spray), apply the paint lightly, peel immediately, and allow to dry. Removes cleanly with a razor blade and glass cleaner.
Is the skull suitable for year-round use?
Yes — in dark or gothic-aesthetic interiors, a bold skull design in black or white is a permanent décor choice rather than seasonal decoration. The colour palette and material choice (permanent paint vs temporary glass paint) determines whether it reads as Halloween or lifestyle.
Why are the eye sockets rated as difficult?
The eye socket circles need to be cut cleanly because geometrically regular shapes make any irregularity immediately visible. Take your time with a sharp craft knife and replace the blade before cutting — the difference between a good blade and a dull one is very visible in circles.