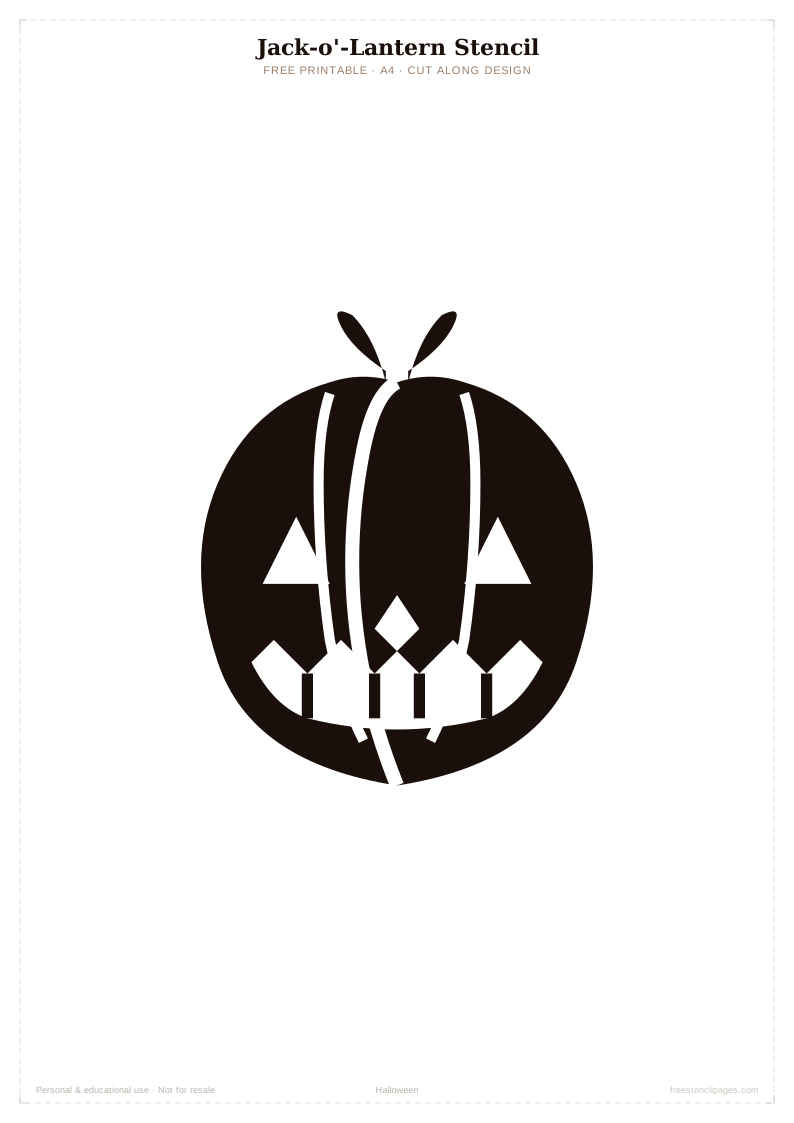
What can I make with this stencil?
Tips & technique
For window frosting, use temporary frosted glass spray — removes cleanly after the season. For pumpkin carving, perforate along lines with a skewer first.
Related stencils
Frequently asked questions
Is this Jack-o'-Lantern stencil free to download?
Yes — completely free for personal and educational use. Click Download Free and the SVG saves to your device instantly. No account or payment required.
What size is the Jack-o'-Lantern stencil?
Designed for A4 (210×297mm) but as an SVG it scales to any size without losing quality. Print A4 for crafts or scale up to A0 for wall art.
Can I use the Jack-o'-Lantern stencil with my Cricut?
Yes — SVG files import directly into Cricut Design Space. Set to Cut mode and cut from vinyl, card or stencil material.
What paint works best for the Jack-o'-Lantern stencil?
Low-sheen emulsion or chalk paint for walls. Fabric paint or acrylic with fabric medium for textiles. Always apply with a nearly dry brush for the cleanest edges.
Browse all holiday stencils or explore another category
← All Holiday Stencils Browse All 500+ Stencils