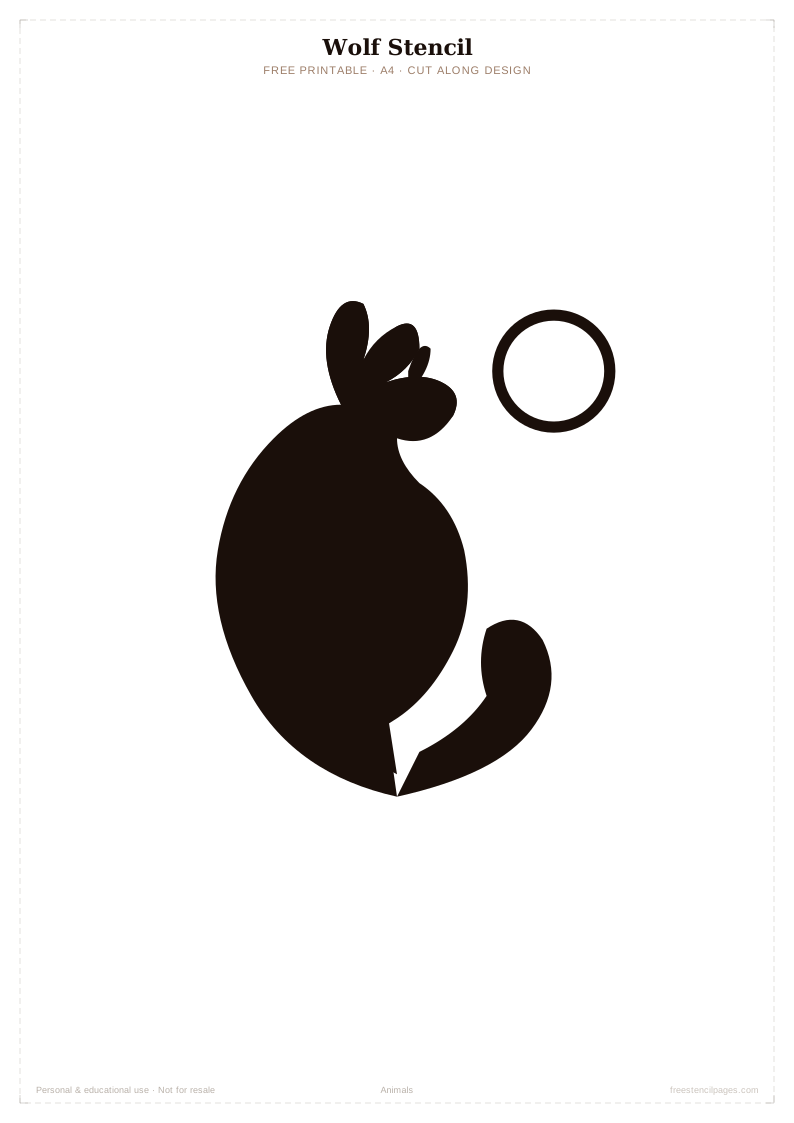
About this stencil
The wolf has been one of the most downloaded designs on this site from the beginning, and it's not hard to see why. The silhouette reads instantly from across a room — that combination of pointed ears, strong jaw and alert posture is immediately recognisable even when reduced to a simple black shape on a wall or cushion.
What makes it a genuinely good stencil design (rather than just a nice illustration) is the line weight. The main silhouette is bold enough to reproduce cleanly at most scales, but the overall shape has enough variation — the tapered muzzle, the distinct ear outline — to stay interesting at close range. It works as a single large centrepiece or as a smaller repeating element in a wider composition.
Difficulty is medium, which in practice means: it will give you good results if you take care with the dry brush technique and use some spray adhesive on the back. Rush it, use too much paint, or skip the adhesive step, and you'll get bleed at the edges. Take those basic precautions and it produces a clean, professional result every time.
Best surfaces & materials
This design works across a wide range of surfaces. Here's what tends to give the best results on each one.
| Surface | Recommended paint | Notes |
|---|---|---|
| Feature wall | Chalk paint or low-sheen emulsion | Apply with a nearly dry stencil brush; peel while slightly damp |
| Canvas art | Acrylic or metallic acrylic | Gold or copper on black gesso canvas gives a striking gallery result |
| Fabric cushion | Fabric paint | Apply with a sponge, heat-set with iron after 24 hours |
| Wood burning | N/A — graphite transfer | Transfer with graphite paper; medium-point tip at medium heat |
| Leather | Leather acrylic paint | Low-tack adhesive essential; peel immediately |
How to use this stencil — step by step
Whether you're printing and cutting this yourself or uploading to a Cricut, these steps apply to most surfaces and paint types.
- Download the SVG file and open it in your browser. Print at 100% for A4, or adjust the scale to match your surface.
- Cut the stencil from 160–200gsm card using a craft knife on a cutting mat. Take particular care around the ear tips — these are the thinnest bridges.
- Spray the back of the stencil lightly with repositionable adhesive. Press firmly onto your surface, smoothing every edge flat with your fingers.
- Load your brush or sponge lightly with paint, then tap off at least 80% onto scrap paper. The brush should feel almost dry.
- Apply using a firm dabbing motion — never brush across the stencil. Build two or three thin coats rather than one heavy one.
- Peel the stencil away slowly at a low angle while the paint is still slightly damp. This gives cleaner edges than waiting for it to dry fully.
The single best trick for the wolf: apply in matte charcoal chalk paint on a warm white wall, then use a very slightly damp cloth to soften the edges of the outer silhouette while the paint is still wet. It gives a subtle fade that makes the design look painted rather than stencilled — which is exactly the effect most people are going for.
Project ideas for this design
Not sure where to start? These are some of the most popular ways people have used this particular stencil.
Feature wall centrepiece
Scale to 60–80cm using a projector or print shop. Apply above a sofa or bed headboard in deep charcoal on a warm white wall.
Canvas artwork
Gold metallic acrylic on black gesso canvas. Frame as a finished artwork. The contrast is dramatic and the result looks genuinely professional.
Linen cushion cover
Natural linen, dark grey fabric paint, sponge application. Clean, Scandinavian, and surprisingly quick to make.
Wood burning plaque
Transfer to basswood with graphite paper. Burn the outline first, then shade inward. Seal with Danish oil for a beautiful warm finish.
Vinyl wall decal
Cut from adhesive vinyl using a Cricut. The SVG imports directly. Apply to walls, doors, or the back of a laptop.
Related stencils you might like
Frequently asked questions
What size should I print the wolf stencil?
A4 is the default download size — roughly 27cm tall for the design area. For a feature wall, scale up to A1 or A0 at a print shop, or project the SVG directly onto the wall. For a cushion or smaller craft, 60–70% of A4 works well.
Why is paint bleeding under the wolf stencil?
Almost always caused by too much paint on the brush or sponge. After loading, tap off most of the paint onto scrap paper until the brush feels nearly dry. Also make sure the stencil is firmly adhered with repositionable spray adhesive — any gap between stencil and surface creates a channel for paint to seep through.
Can I use the wolf stencil for wood burning?
Yes — this is one of the most popular pyrography designs on the site. Print, place graphite paper between the print and the wood, trace firmly with a ballpoint pen to transfer the outline, then burn. Use a medium-point tip and work from the head outward.
Is the wolf stencil free for a school project?
Yes — all stencils here are free for personal and educational use. No sign-up needed.
How do I get a really clean edge on the wolf?
Three things: spray adhesive on the back of the stencil, a nearly dry brush, and peeling the stencil while the paint is still slightly damp rather than fully dry. The last one makes more difference than most people expect.