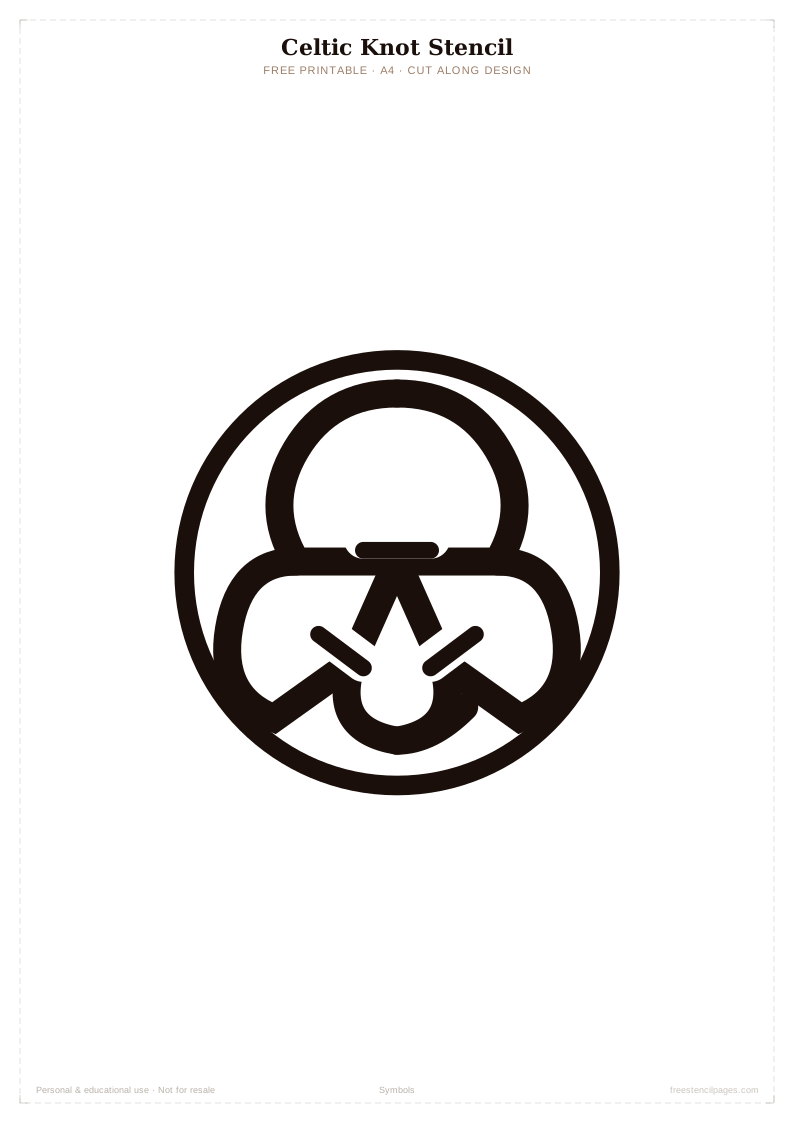
About this stencil
Celtic knotwork has a history spanning over a thousand years of European decorative art. The continuous interlacing pattern — where lines pass over and under each other without beginning or end — carries genuine symbolic weight in Celtic and early Christian tradition, representing eternity, interconnection, and the continuous nature of life. That heritage is part of what makes it such a resonant design choice for home decoration and meaningful gifts.
As a stencil, it's hard. The bridges in the interlacing sections are fine, close together, and require precise cutting and very controlled application to reproduce the over-under illusion that makes the pattern work. Any bleed at these critical intersections turns the knot into a muddy tangle rather than a clean interlace.
The approach that works best is to cut from Mylar rather than card — the semi-transparency helps with alignment — and to apply in multiple very thin coats using a small round stencil brush. The intersections where lines appear to cross over each other can be enhanced after stencilling by very carefully touching up the under-pass lines with a fine brush in a slightly darker tone. That extra step is what makes a Celtic knot look genuinely three-dimensional rather than flat.
Best surfaces & materials
This design works across a wide range of surfaces. Here's what tends to give the best results on each one.
| Surface | Recommended paint | Notes |
|---|---|---|
| Feature wall | Chalk paint — deep tone on pale | Forest green on white, navy on cream, charcoal on pale grey |
| Wood burning | N/A — graphite transfer | Deeply satisfying on oak or walnut; the grain adds depth to the pattern |
| Canvas art | Acrylic | Single knot in metallic or deep colour; heritage aesthetic |
| Stone or brick effect | Acrylic in stone tones | Grey-green or ochre on pale background creates a carved stone illusion |
| Furniture | Chalk paint | Drawer fronts, cabinet panels; heritage furniture decoration |
How to use this stencil — step by step
Whether you're printing and cutting this yourself or uploading to a Cricut, these steps apply to most surfaces and paint types.
- The Celtic knot demands the smoothest possible surface. Any texture will interfere with the fine bridge intersections. Sand smooth or work on MDF, canvas, or freshly plastered wall.
- Cut from Mylar rather than card if possible — the semi-transparency aids placement and the material is more durable for a complex cut.
- Apply spray adhesive generously. Every bridge intersection must be completely flat against the surface.
- Use a small round stencil brush, barely loaded with paint. Apply in tiny circular motions on each section rather than sweeping strokes.
- Apply four or five very thin coats, allowing each to dry slightly. This builds coverage without flooding the fine bridges.
- For the over-under illusion: once the stencil is removed, use a fine brush to darken the lines that should appear to pass under — this adds the three-dimensional appearance that makes Celtic knotwork so distinctive.
The over-under enhancement: Once the stencil is dry, look at the pattern and identify which sections of the lines are meant to pass under others. Using a fine artist's brush and paint one or two shades darker, gently darken the under-passing sections. It takes about 20 minutes and is the difference between a pattern that looks flat and one that genuinely looks carved or woven.
Project ideas for this design
Not sure where to start? These are some of the most popular ways people have used this particular stencil.
Heritage living room feature
Large Celtic knot in forest green chalk paint on a pale wall. Works beautifully in a room with exposed stone, dark wood furniture, or a traditional interior.
Wood burning plaque
One of the most satisfying pyrography projects you can attempt. Transfer to oak or walnut, burn carefully, and the wood grain adds natural depth to the interlacing pattern.
Personalised gift on canvas
Celtic knot as a meaningful gift for someone with Irish, Scottish, or Welsh heritage. Single knot on canvas in heritage colours, framed simply.
Memorial or ceremonial stone effect
Applied in grey-green or ochre tones on pale background, the knot reads as carved stone. Beautiful for memorial or heritage celebration contexts.
Heritage furniture panel
Cabinet or wardrobe door panel in chalk paint. Transforms a plain piece of furniture into something with genuine character and heritage.
Related stencils you might like
Frequently asked questions
Why is the Celtic knot rated hard?
The interlacing bridges are fine and close together. Any imperfect technique — too much paint, inadequate spray adhesive, a brush that's too wet — causes bleed that ruins the over-under illusion. It's achievable with care, but it punishes shortcuts more than any other design on the site.
What's the best surface for a Celtic knot stencil?
The smoothest possible surface — freshly painted smooth wall, MDF, canvas or smooth wood panel. Any surface texture will interfere with the fine bridge intersections.
Can I make a Celtic knot look three-dimensional?
Yes — and it's worth doing. After the stencil is removed and dry, use a fine brush to darken the under-passing sections of the interlace slightly. This creates the over-under illusion that makes genuine Celtic knotwork look woven or carved rather than flat.
Is the Celtic knot suitable for a first stencil project?
Not recommended as a first project. Start with the butterfly, owl, or anchor to get a feel for technique. Come back to the Celtic knot once you're comfortable with dry brush application and spray adhesive. It'll reward the patience.