About this stencil
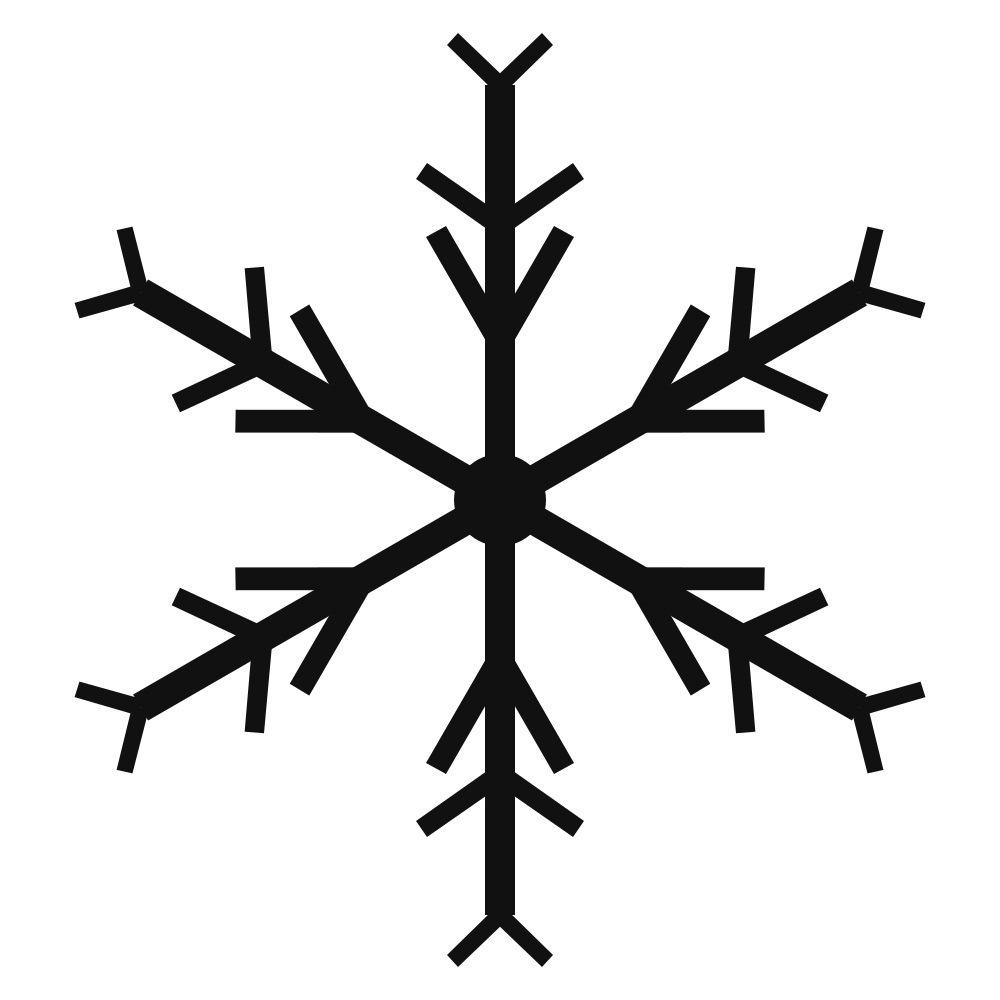
Real snow crystals are rarely as tidy as the ones on Christmas cards. The branches change angle as the crystal grows through different layers of air, and the result has a jagged, mineral quality. The crystal snowflake borrows that idea. The lower branches on each arm are long and narrow, hugging the arm at 30 degrees, while the upper pair flares out at 55 degrees, so the silhouette has a sharp, faceted outline that catches the eye in a way the symmetrical designs do not.
We built it for transparent and reflective surfaces. When a stencil is used on glass, the design is seen with light passing through or bouncing off it, and simple shapes can look flat. The crystal snowflake has enough change of direction in its outline that it still reads as three-dimensional in those conditions, which is why it is the version we suggest for etching, for candle holders and for mirror work.
Every element is still over 3.5mm wide at A4, so this remains a hand-cuttable design on card or acetate. It is slightly more work than the classic because the two branch tiers meet the arm at different angles and you need to keep turning the sheet, but it is far quicker than the fern or lace.
Best surfaces & materials
Anything that reflects or transmits light suits this design. Opaque surfaces work too, but the sharp outline is at its best on glass and metal.
| Surface | Recommended paint | Notes |
|---|---|---|
| Glass candle holders | Etching cream on acetate | Permanent. Print at 30%, cut acetate, apply cream for five minutes, rinse. |
| Mirrors | Frosted glass spray | Semi-permanent. Mask well; overspray on a mirror is very visible. |
| Metal tins and trays | Enamel or metal spray paint | Degrease with meths first. The angular outline looks engraved on metal. |
| Dark ceramic plates | Porcelain paint pen, dotted through | Decorative only unless bake-set. Dot rather than brush for a frosted look. |
| Ice-blue walls | White chalk paint | Print at 100% and 60%. Cluster near a window where daylight hits them. |
How to use this stencil — step by step
The instructions below are for etching glass, which is the most distinctive thing this stencil does. For spray or paint, follow the classic snowflake method instead.
- Print at the scale of your glassware: 25 to 35% of A4 for a tea light holder, 50% for a hurricane lamp or large jar.
- Trace or spray-mount the print onto a sheet of acetate or self-adhesive vinyl and cut it with a sharp craft knife. Card will not survive etching cream.
- Wash the glass in hot soapy water, rinse and dry with a lint-free cloth. Any fingerprint will show in the etched finish.
- Apply the stencil and burnish every edge down hard with a fingernail, especially the inside corners where the two branch tiers meet.
- Spread etching cream thickly with a plastic knife, working in one direction. Leave it for the time on the pot, usually five to fifteen minutes.
- Rinse under running water with the stencil still on, then peel. Wear gloves and work near a sink; the cream is caustic.
Light it from behind: an etched crystal snowflake on a plain glass votive is pleasant in daylight and spectacular with a candle inside. The etched areas scatter the flame while the clear glass stays dark, so the snowflake appears to glow. Make four or five in different sizes and line them along a mantelpiece or windowsill.
Project ideas for this design
Most of these projects are permanent, which is unusual for a Christmas stencil. Think of them as decorations you make once.
Etched tea light holders
Plain glass votives from any homeware shop, etched with a 30% crystal snowflake. Five minutes of cream, a lifetime of use.
Frosted mirror border
Three sizes clustered in one corner of a bathroom or hall mirror in frosted spray. Easy to remove, surprisingly elegant.
Biscuit tins
White enamel spray on a dark tin lid. The angular shape looks like it was engraved rather than painted.
Winter wreath centre
Cut from thick white card at 100%, hang in the middle of a bare twig wreath. No paint needed.
Icy nursery wall
White on pale blue, loosely grouped near the window. Angled branches read as proper ice crystals rather than cartoon snow.
Related stencils you might like
Frequently asked questions
Why do the branches point in two different directions?
To mimic how real snow crystals grow. The lower branches sit tight to the arm at 30 degrees and the upper pair opens out at 55 degrees, which gives a faceted outline. The six-fold symmetry is exact, but each arm is deliberately less regular than a textbook drawing.
Is etching cream safe to use at home?
With care. It contains an acid that will burn skin and damage worktops, so wear gloves and eye protection, work over a sink, and keep it off anything you cannot rinse. Follow the time on the pot; leaving it longer does not etch deeper.
What material should I cut the stencil from for glass?
Acetate or self-adhesive vinyl. Card goes soft and lets cream or spray creep under the edge. For a one-off, a sheet of clear book-covering film cut with a craft knife works well and sticks on its own.
Can I hand-cut this design?
Yes. All elements are over 3.5mm at A4. Turn the sheet as you reach each branch so you are always pulling the blade towards you, and cut the inside corners with two strokes meeting at the point rather than one turn.