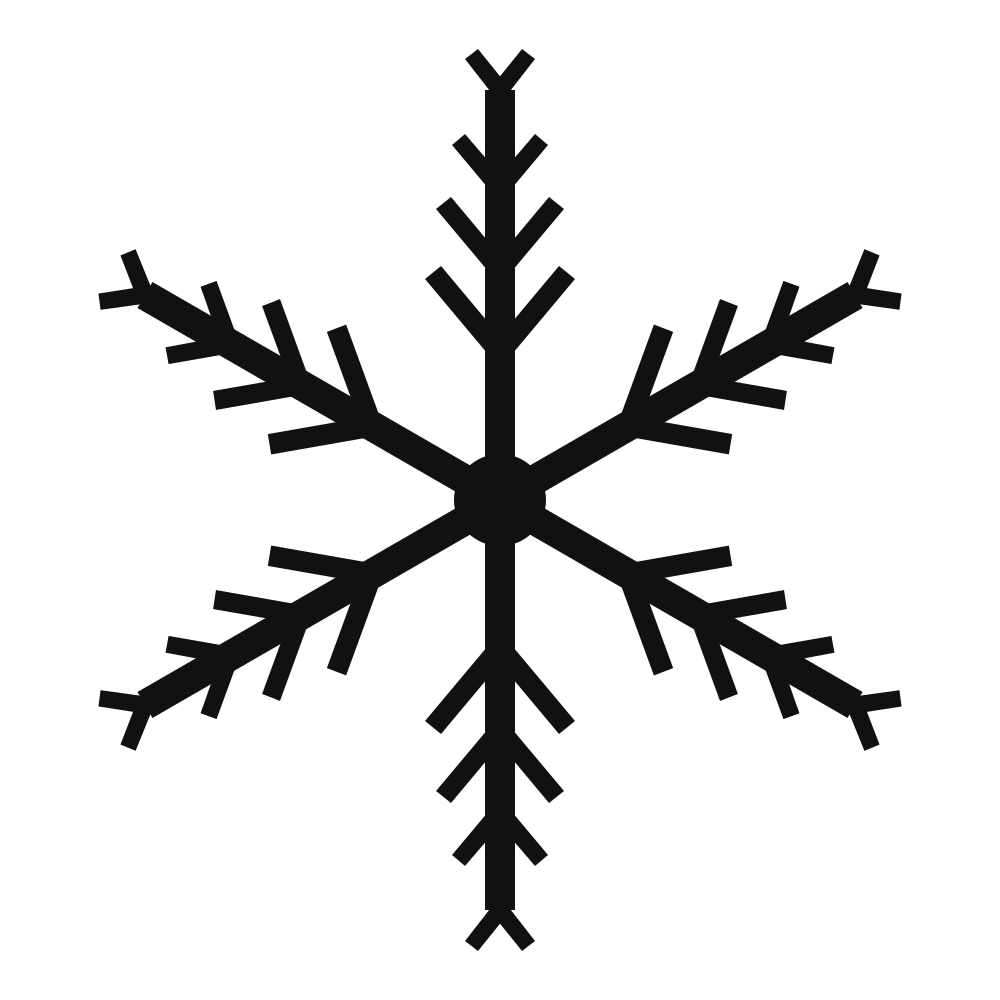
About this stencil
The lace snowflake exists because the other designs are too strong for a greetings card. At card scale, a bold or classic snowflake fills the front and looks like a logo. The lace version keeps enough air between its branches that even at 40% of A4 it still has openness, with the paper showing through all around each element. It is the snowflake you can tuck into a corner of a card and leave the rest empty.
We kept it printable and cuttable by hand, just. The thinnest branch tip is 3.6mm at A4 and the arms are 6.3mm, which is fine for a craft knife on card but means you need a fresh blade and some patience. Scale it down for a tag and you are into cutting-machine territory. If you have a Cricut or Silhouette, this is the design that justifies owning one, because it cuts cleanly from thin card or Mylar in under a minute and the result is a stencil you simply could not cut as neatly by hand.
The lace snowflake also behaves well with tools other than paint. Chalk pens, ink pads, embossing ink and even a soft pencil all produce a cleaner result through narrow openings than through wide ones, because there is less surface to go wrong on. For windows, a white chalk marker through this stencil gives a drawn, hand-lettered look that snow spray cannot match.
Best surfaces & materials
This is a paper and glass design. It can be used on fabric and walls, but its fine branches are wasted there and the fern or classic will serve you better.
| Surface | Recommended paint | Notes |
|---|---|---|
| Card blanks | Ink pad dabbed through, or thin acrylic | Print at 35 to 45%. Ink gives the cleanest edge on smooth card. |
| Gift tags | Embossing ink and white powder | Print at 25% and cut on a machine. Raised white snowflake on kraft is lovely. |
| Windows | White chalk pen | Draw through the stencil with the pen almost upright. Wipes off with a damp cloth. |
| Tissue and wrapping paper | Light spray of white acrylic | Hold the can further back than you think, 35cm or so, and mist rather than spray. |
| Dark envelopes | White gel pen or ink pad | Address on the front, lace snowflake on the flap. Small and quietly lovely. |
How to use this stencil — step by step
Hand-cutting this design is the hard part, so these steps spend more time on the cut than on the paint. If you are cutting on a machine, skip to step four.
- Print at 100% onto 160 to 200gsm card even if you plan to use the stencil smaller. Cut it full size, then photocopy or scan the cut stencil down. Cutting small is far harder than cutting large.
- Fit a new blade. A blunt blade drags thin card and tears the branch tips. Cut on a self-healing mat with the card taped down at the corners.
- Cut the outer branch tier on all six arms first, then the middle tier, then the inner, working from the tips towards the centre so the card stays rigid where you still need to cut.
- For card and paper, use an ink pad or a sponge barely damp with thin acrylic. Dab straight down; the narrow openings cannot cope with any sideways movement.
- For windows, hold a chalk pen nearly vertical and colour in each opening with short strokes. Let the chalk dry for a minute before lifting the stencil.
- Lift from one arm tip and peel slowly towards the centre. Store the stencil flat between two sheets of card; the branches will curl if it is left loose.
Ghost prints: after you have inked a lace snowflake, do not clean the stencil. Shift it 3mm to one side and press again without reloading the ink pad. The second, fainter print sits just off the first and gives a soft shadow that makes the snowflake look as if it is drifting. Three shifted prints in decreasing strength look like falling snow on a plain card.
Project ideas for this design
Small, hand-held projects, mostly paper. This is a design for things people open rather than things they walk past.
Minimal Christmas cards
One lace snowflake at 40% in silver ink, low in one corner of a white card. Write the greeting inside only. Clean and modern.
Embossed gift tags
White embossing powder over a 25% machine-cut stencil on kraft tags. Tie with white bakers' twine.
Chalk pen window
Six or seven lace snowflakes in white chalk marker across a kitchen window, each at a different size. Looks hand-drawn, wipes off in a minute.
Envelope flaps
A single small snowflake on the flap of each Christmas card envelope. People notice.
Place cards
Lace snowflake at 20% on folded cream card with the name underneath. Cut these on a machine; by hand is not worth the effort at that size.
Related stencils you might like
Frequently asked questions
Is the lace snowflake really hand-cuttable?
At 100% of A4, yes, with a new blade and some patience. The thinnest point is 3.6mm. Below about 70% we would move to a cutting machine; the branch tips get too narrow to cut cleanly by hand and one slip ruins the arm.
What is the best way to apply paint through such a fine design?
Do not use paint if you can avoid it. An ink pad dabbed directly through the stencil gives a sharper edge than any brush, dries in seconds and never bleeds under narrow bridges. For colour on dark card, a white or metallic pigment ink pad is ideal.
Can I use a chalk pen on a window with this stencil?
It is the best snowflake for it. Hold the pen almost vertical, colour in each opening with short strokes rather than one sweep, and let it dry before lifting. The result looks hand-lettered. It wipes off with a damp cloth, so it is ideal for rented homes.
How does it compare to the fern snowflake?
The fern has four branch tiers and thicker arms, which suits fabric. The lace has three tiers, slimmer arms and more open space, which suits paper and glass. If you are unsure, the fern is more forgiving.